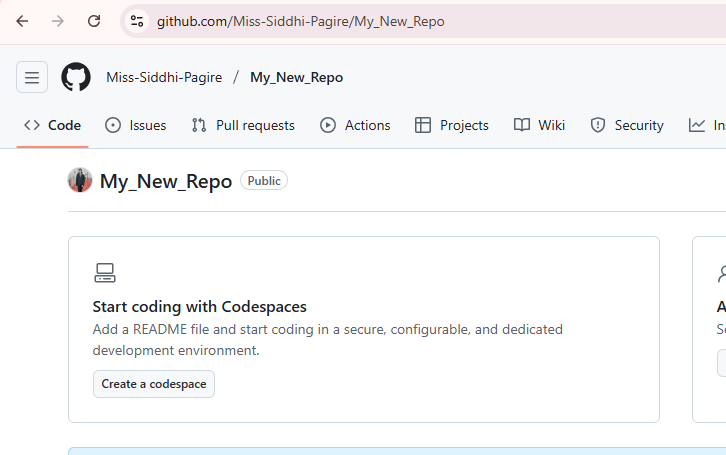
Create a Repository on GitHub
A repository (repo) is like a special folder on GitHub where you store your project files and track their changes.
You can think of it as your project’s online home.
This guide will help you create a new repository on GitHub and connect it with Git on your computer.
🚀 Steps to Create a Repository
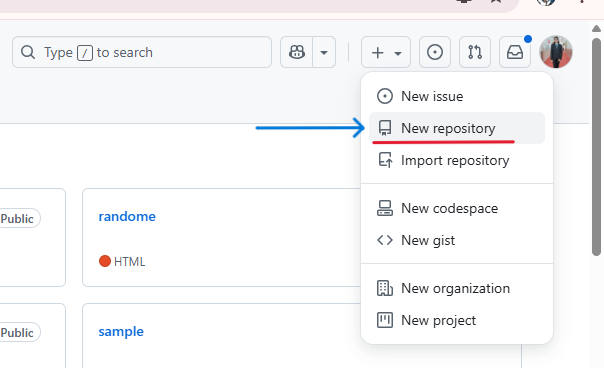
🪜 Step 1: Go to GitHub and Create a New Repository
- On the GitHub page, click the + icon in the upper-right corner and select New repository.
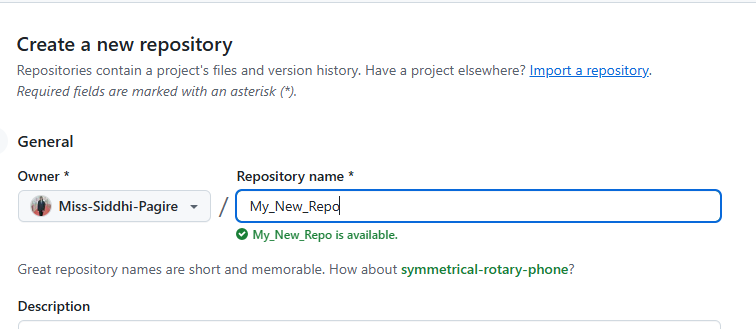
🪜 Step 2: Enter Repository Name
- Type a name for your repository — for example, My_New_Repo.
🪜 Step 3: Choose Repository Visibility
Choose whether your repository should be:
- Public – anyone can see your code
- Private – only you (and selected people) can access it
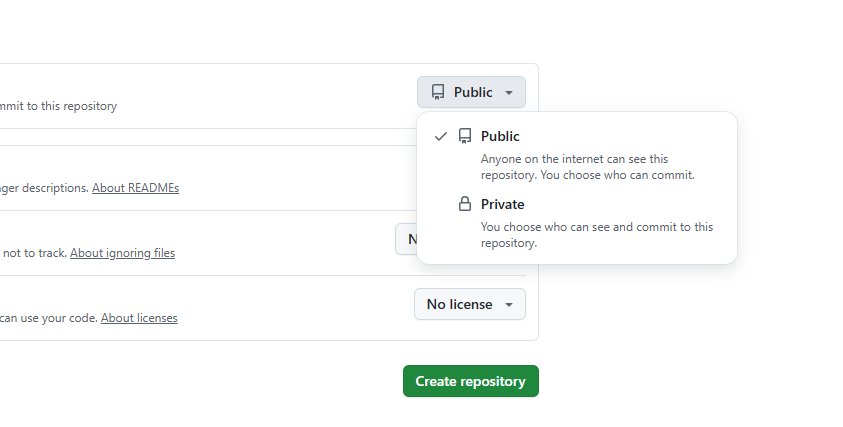
💡 For learning or practice, it’s best to keep your repository public.
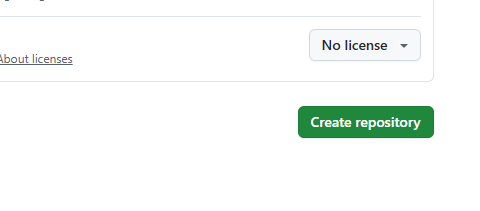
🪜 Step 4: Create the Repository
- Click the Create repository button to finish.
You’ll now see an empty repository page on GitHub.
🔗 Step 5: Clone the Repository to Your Computer
Cloning means downloading a copy of your GitHub repository to your local computer so you can work on it.
Copy the repository link from GitHub.
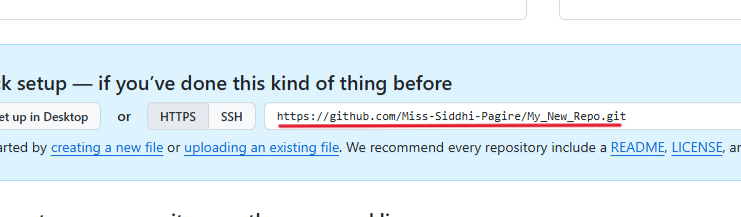
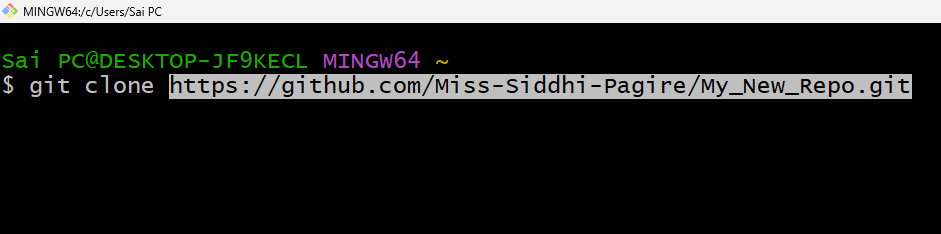
Open Git Bash on your computer and run the command below:
git clone <repository-link>
🟢 Replace <repository-link> with your actual repository link.
Example:
git clone https://github.com/siddhi-codes/My_New_Repo.git
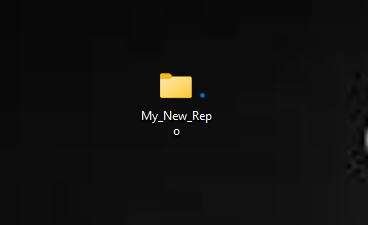
- After cloning, you’ll see a new folder (for example, My_New_Repo) on your computer.
⚙️ Before You Create a Repository
Before creating a repository on GitHub, make sure you have the following setup completed:
✅ 1. GitHub Account: You must have a registered account on GitHub.
✅ 2. Git Installed on Your Computer: Download and install Git from https://git-scm.com/. You can verify it using this command:
git --version
✅ 3. Git Connected to GitHub: Your Git software should be connected to your GitHub account using:
git config --global user.name "YourGitHubUsername"
git config --global user.email "[email protected]"