How to Create README
What is a README and Its Purpose?
A README file is a document that provides essential information about a project. It serves as an introduction, offering details about what the project is, how it works, and how others can use or contribute to it.
Why Is a README Useful in Projects?
- Quick Overview: Helps users quickly understand the project's purpose.
- Setup Guide: Offers clear steps to install and use the project.
- Documentation: Acts as a primary source of information for developers and users.
- Collaboration: Attracts contributors by providing clear guidelines and details.
- Professionalism: A well-structured README makes your project look polished and reliable.
Basic Markdown Syntax Examples
README files are written in Markdown (.md), a lightweight and easy-to-read markup language. Below are examples of common Markdown syntax:
Headings
Use # symbols to create headings:
# Heading 1

## Heading 2

### Heading 3

#### Heading 4

##### Heading 5

###### Heading 6
Text Formatting
Bold Text:
**This is bold text**
Italic Text:
_This is italic text_
Bold and Italic Text:
**_This is bold and italic text_**
Lists
Ordered List:
1. First item
2. Second item
3. Third item
Unordered List:
- Item 1
- Item 2
  - Sub-item 1
  - Sub-item 2
Links
Add clickable links:
[Example Link](https://example.com)
Horizontal Line
Create a horizontal separator:
---
Blockquotes
Highlight important text:
> This is a blockquote. Use it to emphasize content.
Tables
Create tables to organize data:
| Column 1 | Column 2 | Column 3 |
| -------- | -------- | -------- |
| Data 1   | Data 2   | Data 3   |
| Data A   | Data B   | Data C   |
Task Lists
Show a to-do list:
- [x] Completed Task
- [ ] Incomplete Task
- [ ] Another Task
Images
Add an image:

Footnotes
Include footnotes:
Here is a sentence with a footnote.[^1]

[^1]: This is the footnote text.
Want to watch tutorial for more ?
Click here to watchSteps to Add a README to Your Project
- Create a file named
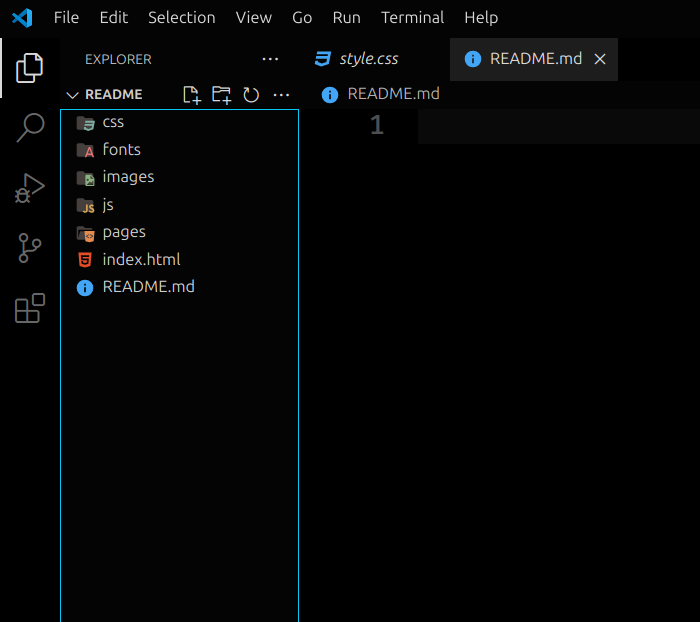
README.mdin the root directory of your project.

- Use Markdown syntax to structure your content.
- Save the file and preview it using platforms like GitHub or a Markdown editor.
Best Practices for Structuring the README
Project Title and Description:
- Add the project name as the title.
- Write a brief description of what the project does.
Table of Contents:
- For longer READMEs, include a Table of Contents to help navigate quickly.
Installation Guide:
- Provide clear steps for setting up the project, including any prerequisites.
Usage Instructions:
- Add examples or code snippets to demonstrate how to use the project.
Contributing Guidelines:
- Explain how others can contribute, such as submitting pull requests or reporting issues.
License:
- Mention the type of license used (e.g., MIT, Apache 2.0).
Contact Information:
- Include an email or link for users to reach out with questions or suggestions.
Screenshots (Optional):
- Describe what the project looks like or behaves like for users.
Additional Sections to Include
Prerequisites:
- List tools or environments needed (e.g., Python 3.8, Node.js).
FAQ:
- Answer common questions users might have.
Changelog:
- Document major updates or changes made to the project.
Known Issues:
- Highlight any known bugs and provide workarounds if available.
Future Plans:
- Mention features you plan to add or improve.
Final Tips for Writing a Good README
- Be Clear and Concise: Avoid unnecessary jargon; keep the language simple.
- Organize Logically: Follow a structured format so readers can easily find what they need.
- Update Regularly: Keep the README up-to-date as the project evolves.
- Use Visuals (Optional): If appropriate, include diagrams or examples for better clarity.