Installation of NodeJs
- Download Node.js Installer : Visit the Node.js official website (https://nodejs.org/) to download the appropriate version for your operating system. If you are using Windows, select the Windows Installer option.
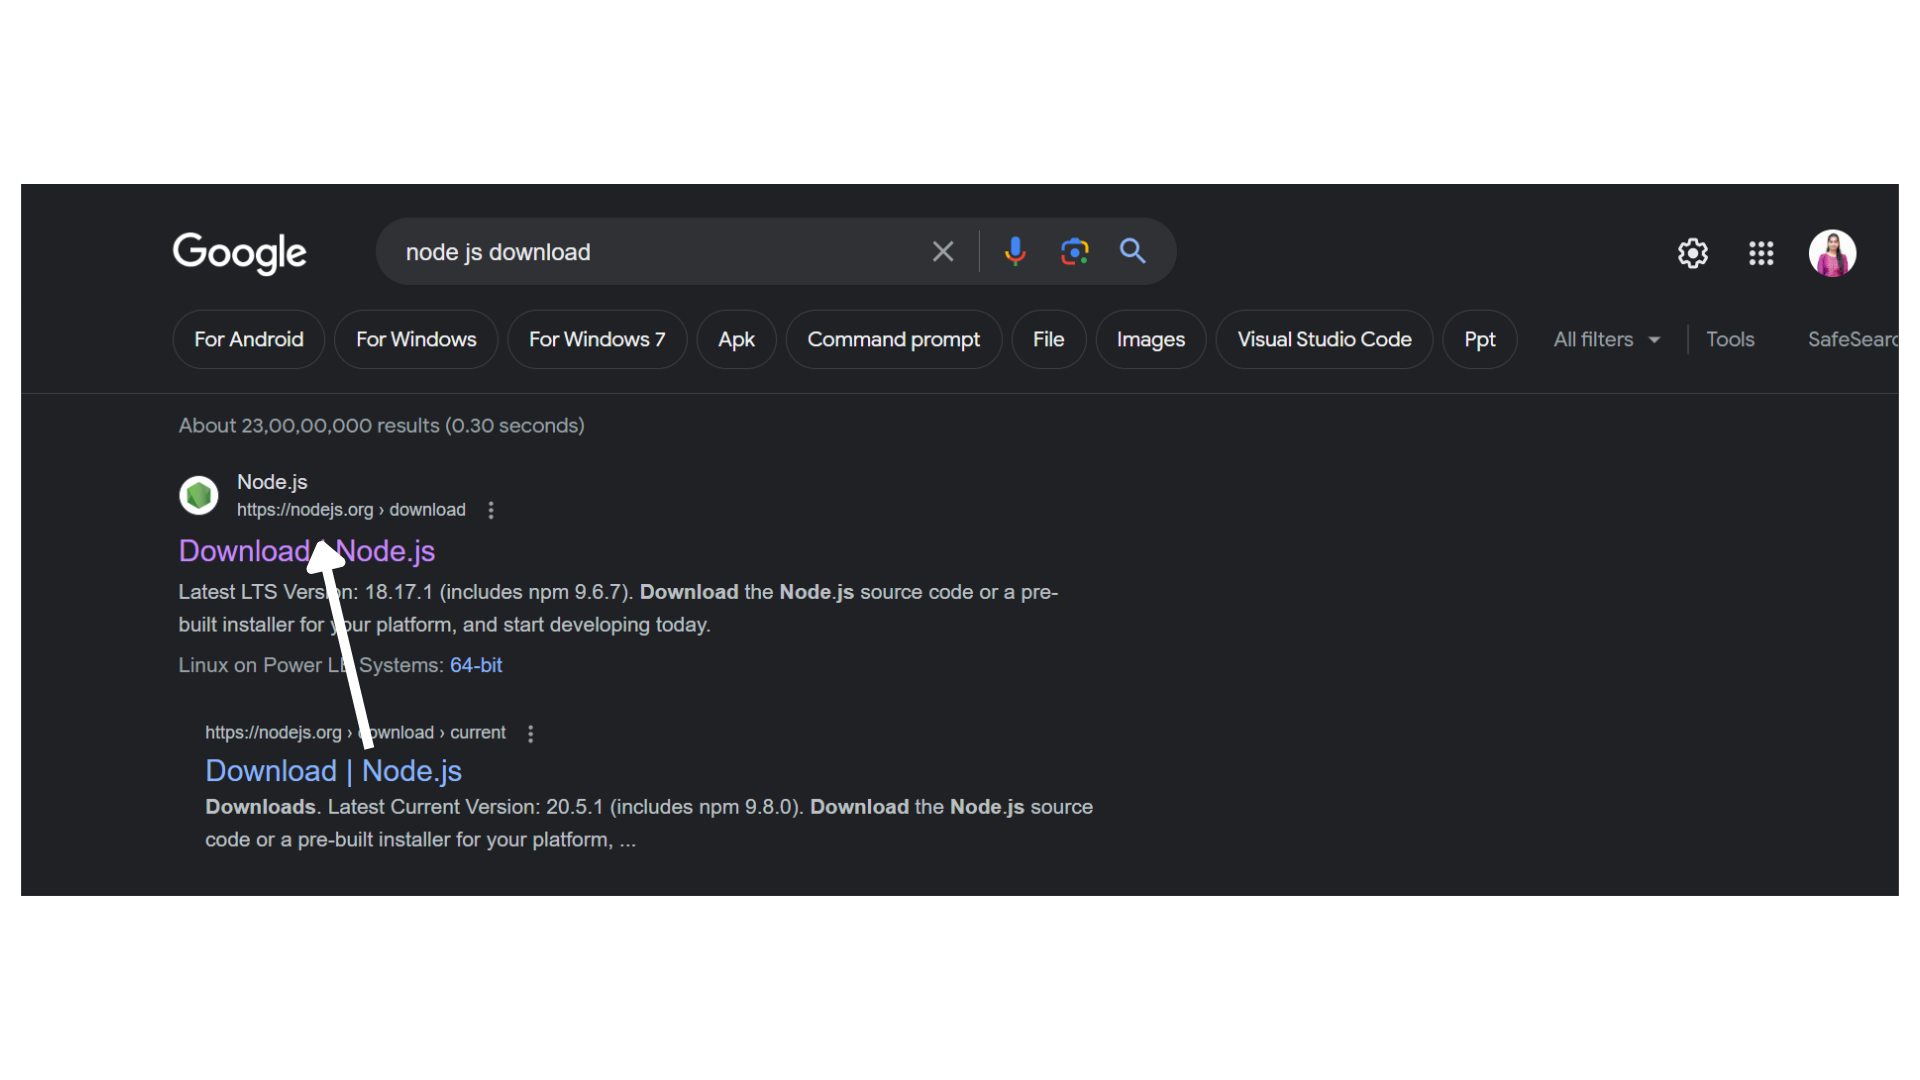
- For most users, it is recommended to click on LTS.

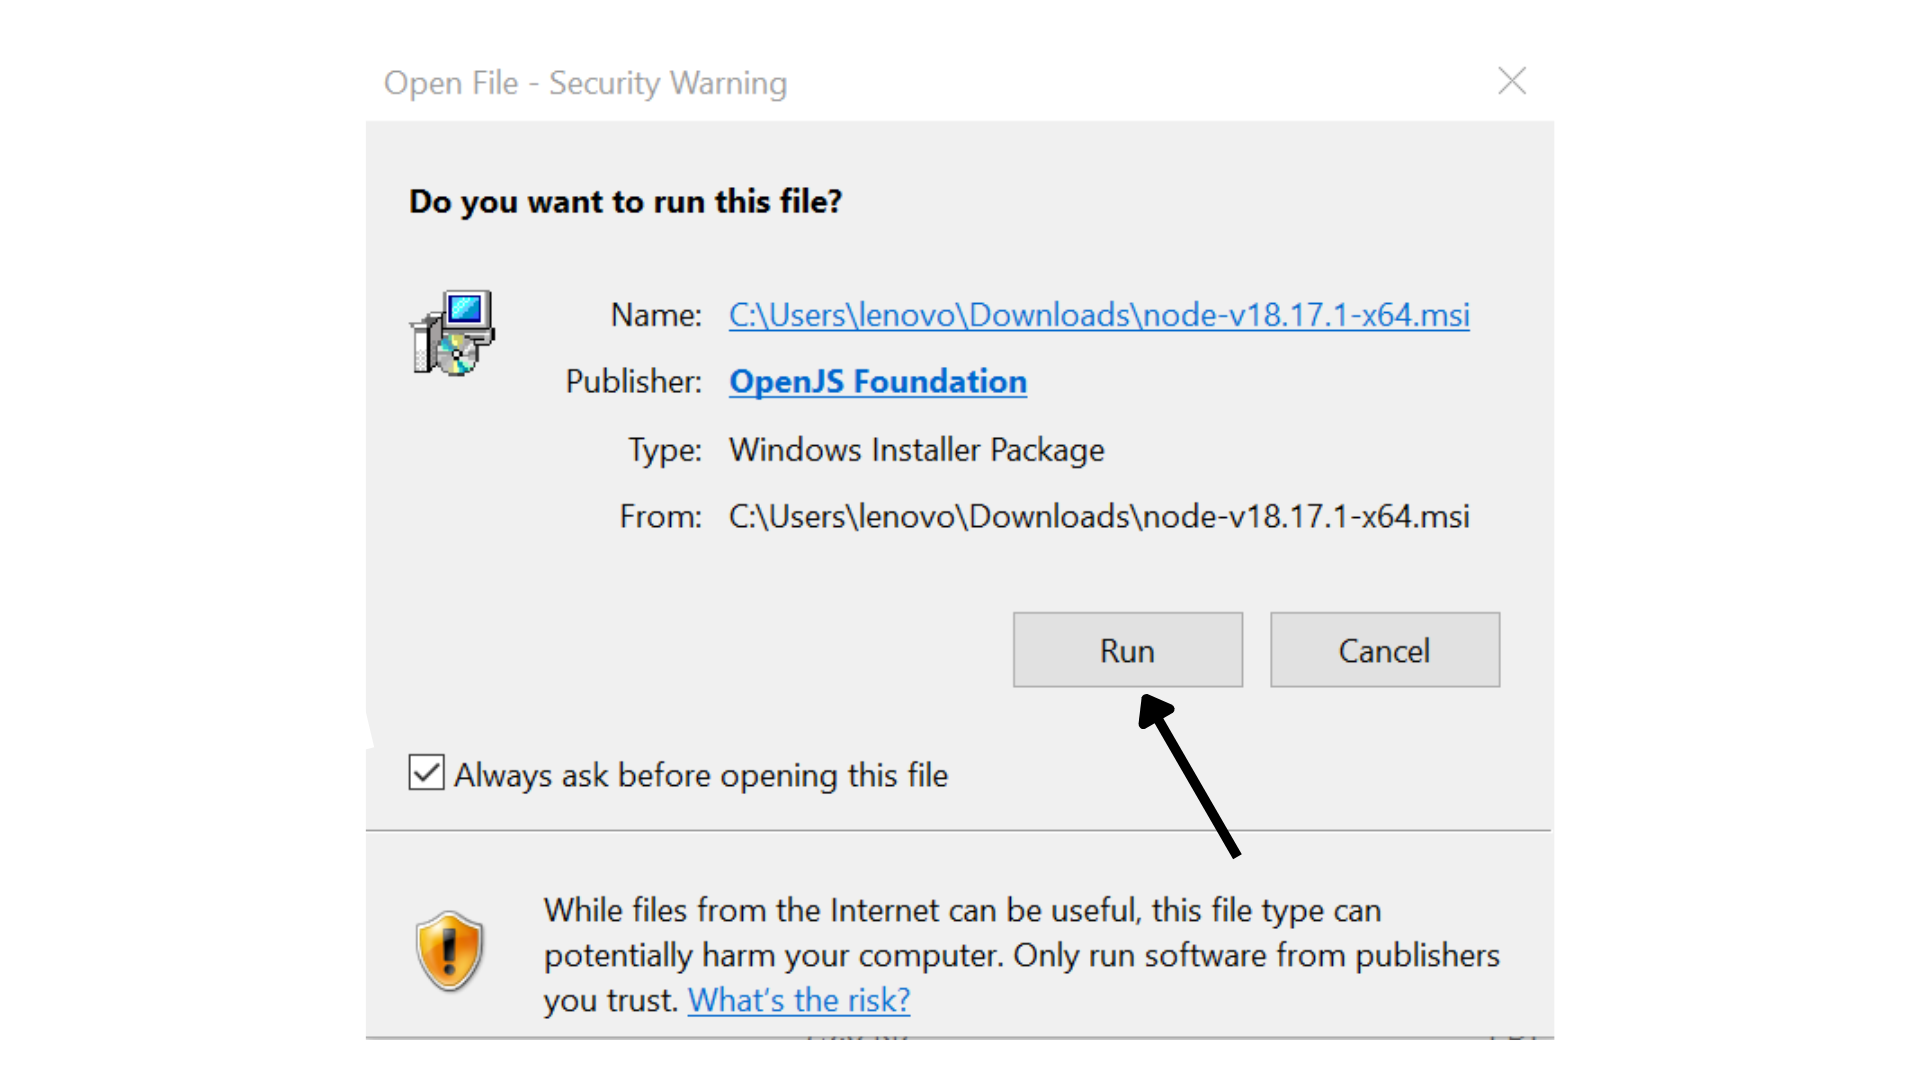
- Run the Installer : Click on the
runbutton and it will take you to the next step.
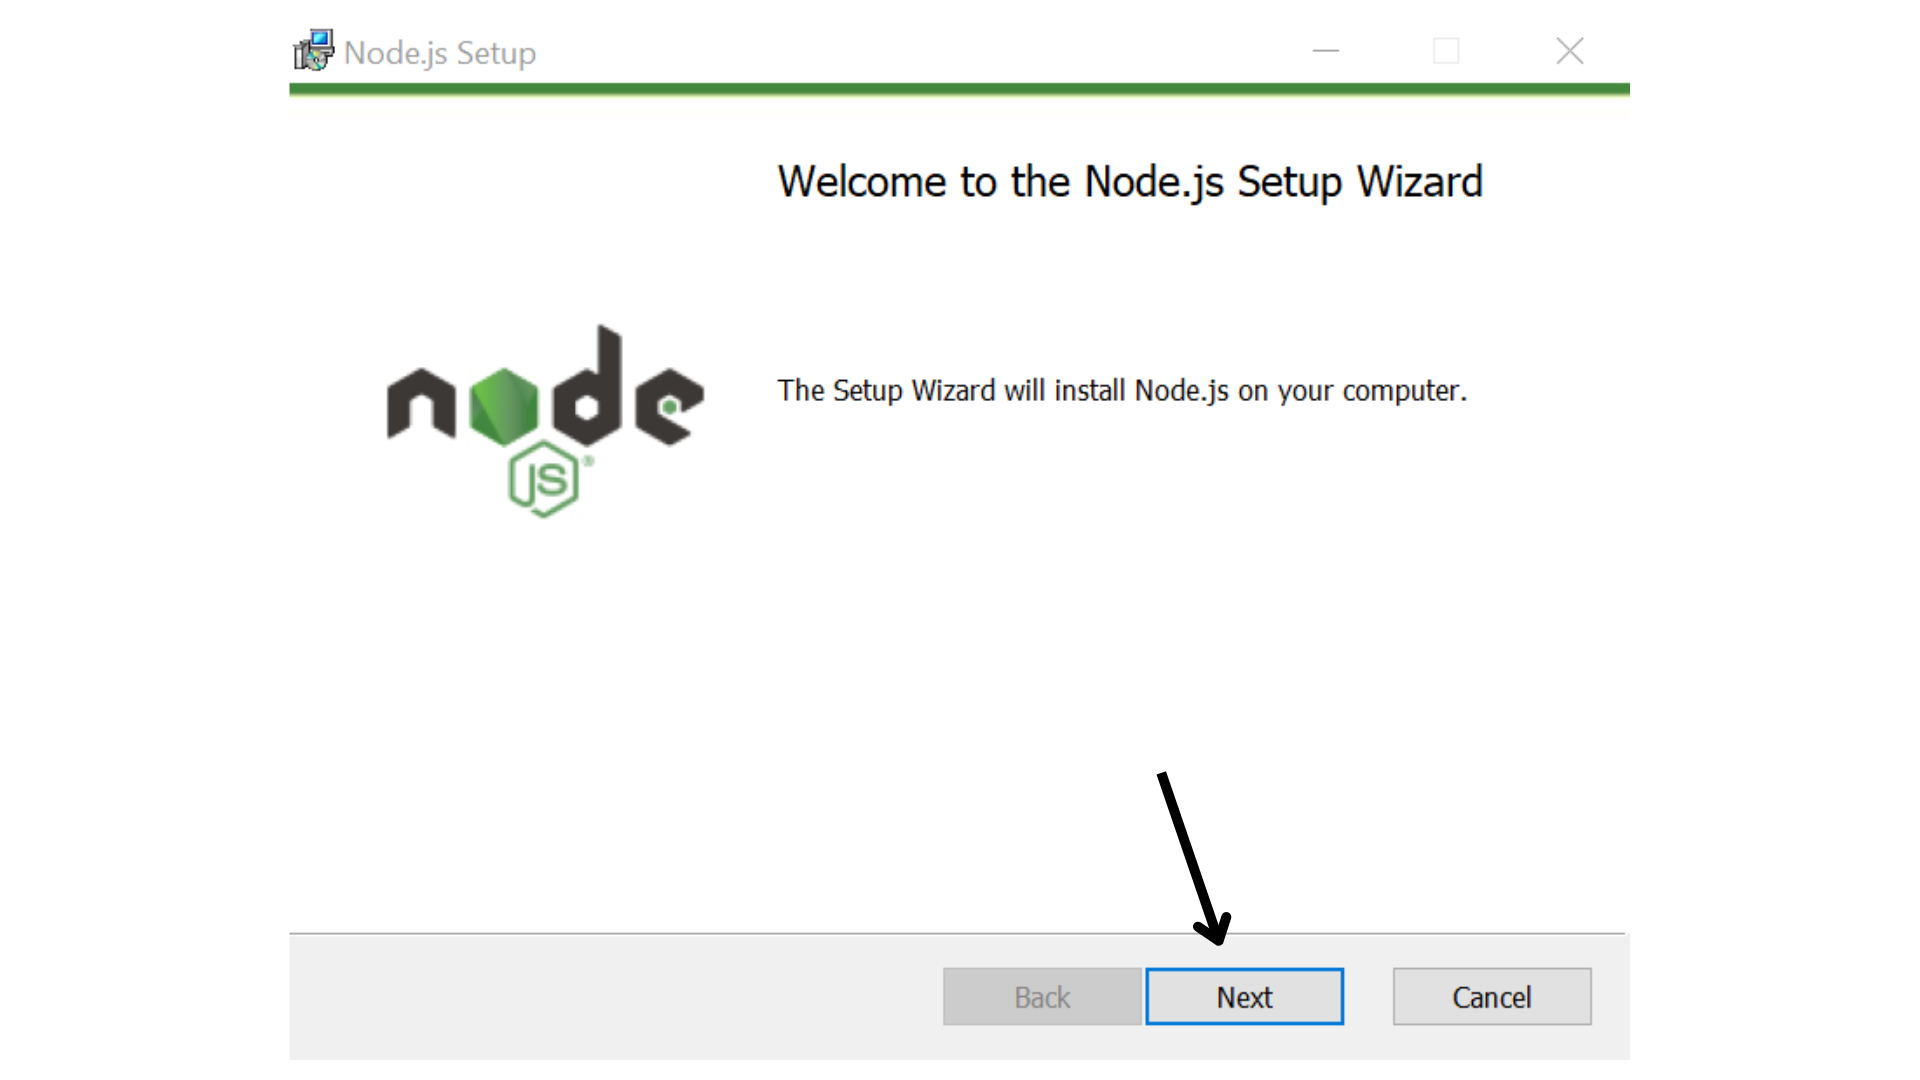
- Setup Wizard : The Node.js Setup Wizard will open. Click the
Nextbutton to proceed.
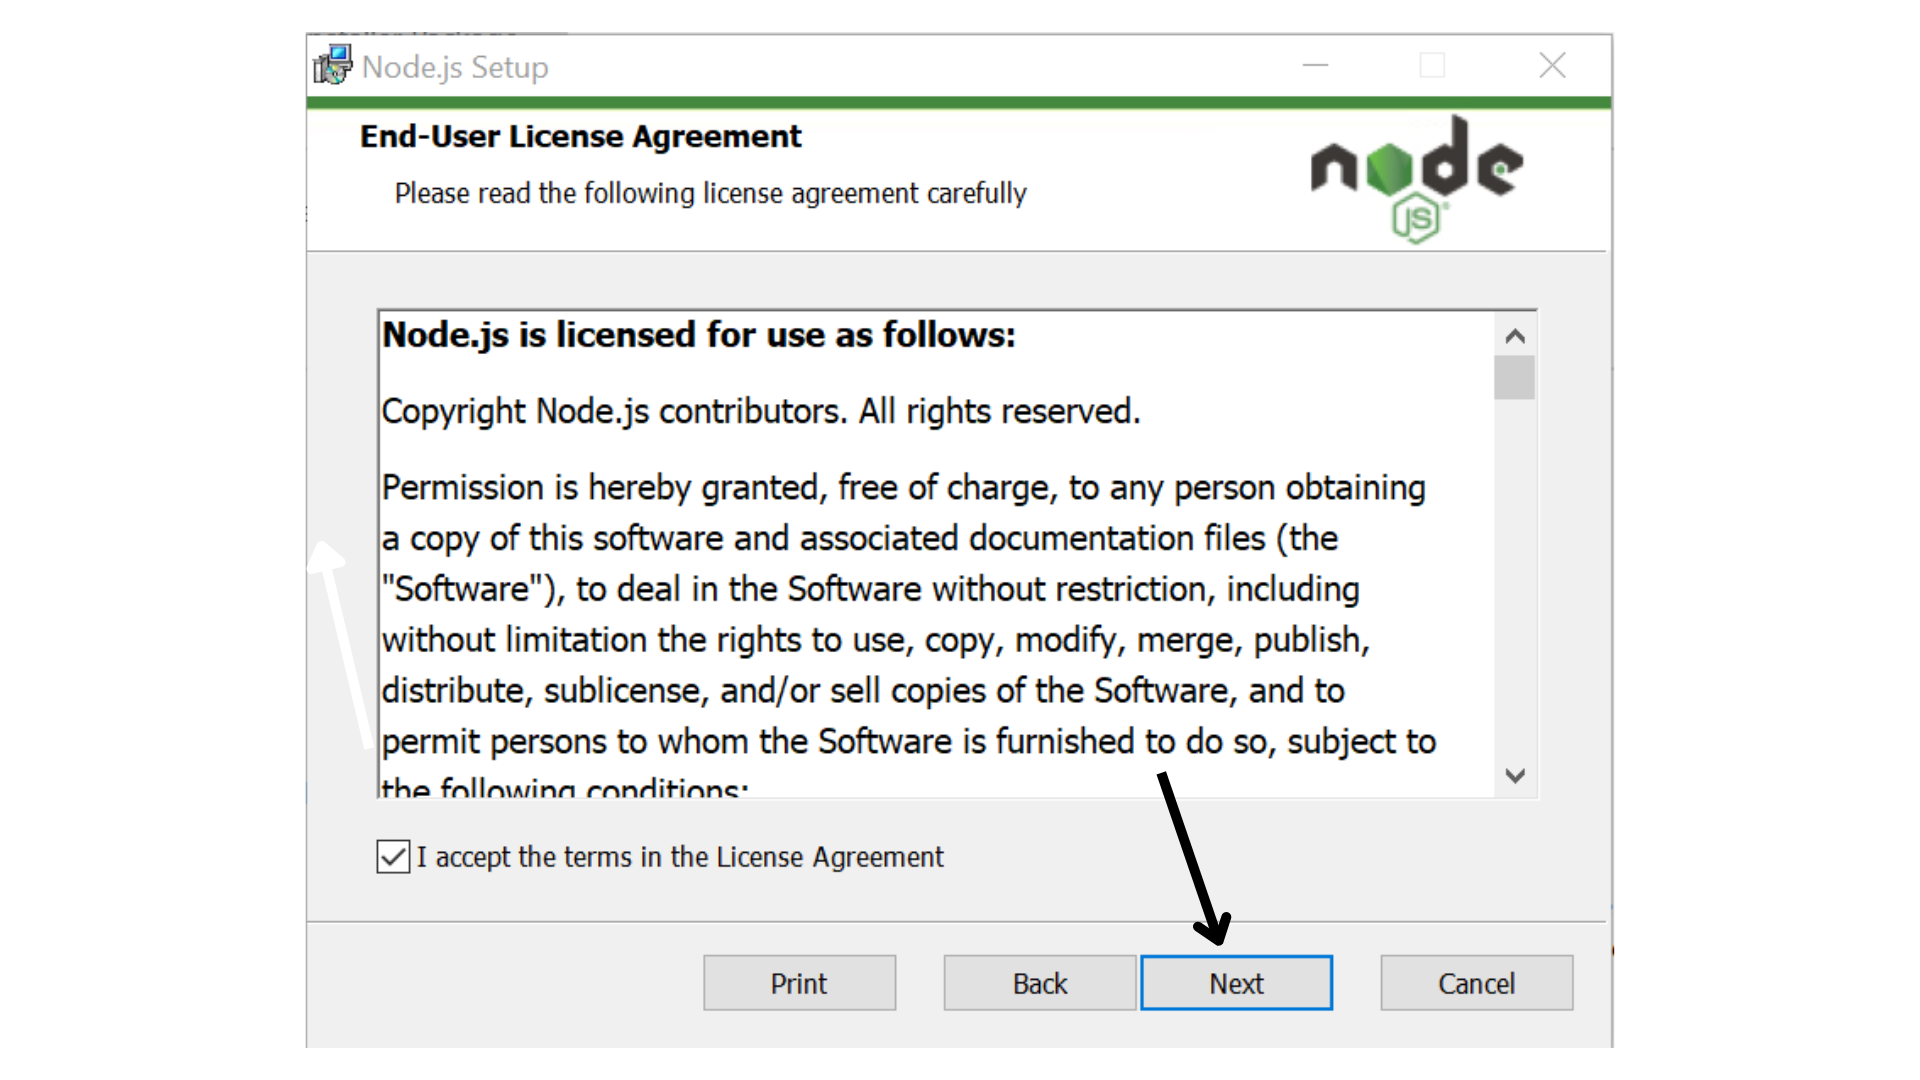
- License Agreement : Read and accept the license agreement, then click
Next.
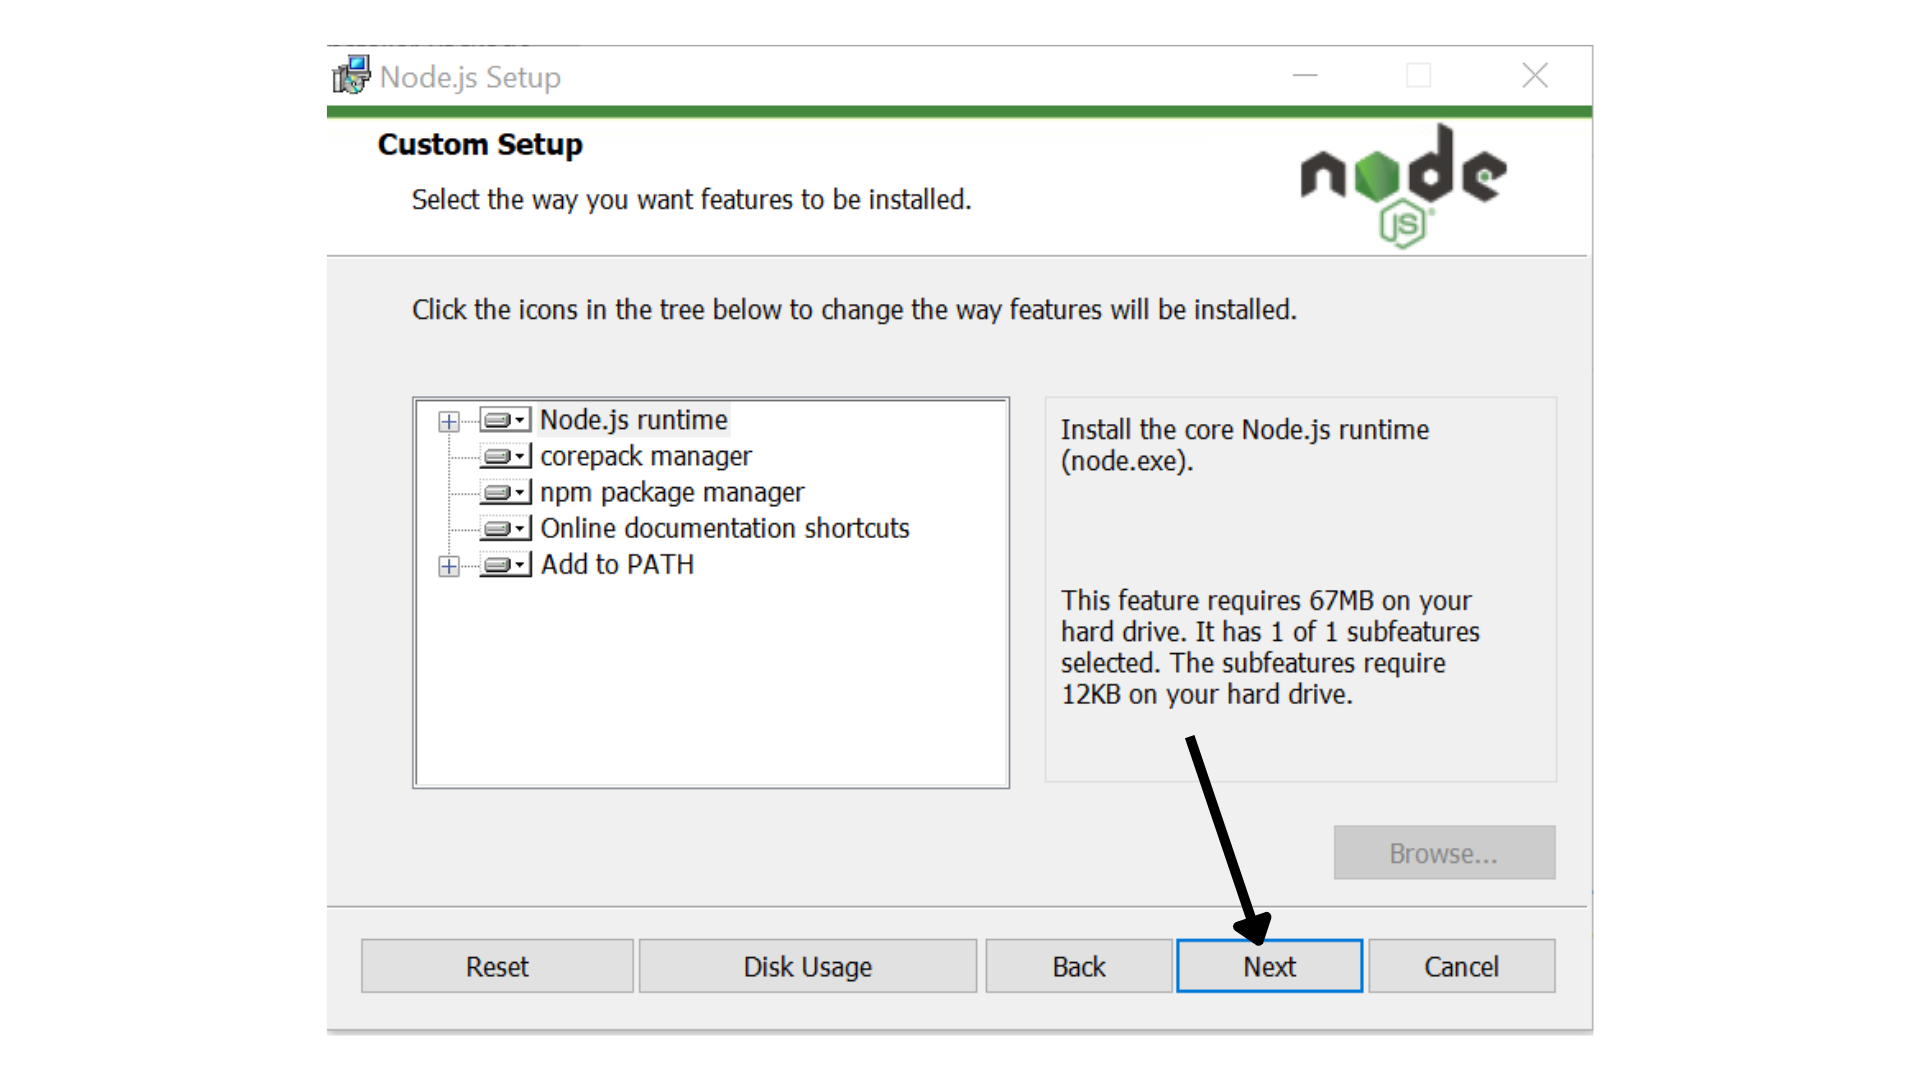
- Choose Components : You'll have the option to customize the components to install. Generally, it's recommended to keep the default selections. Click
Next.
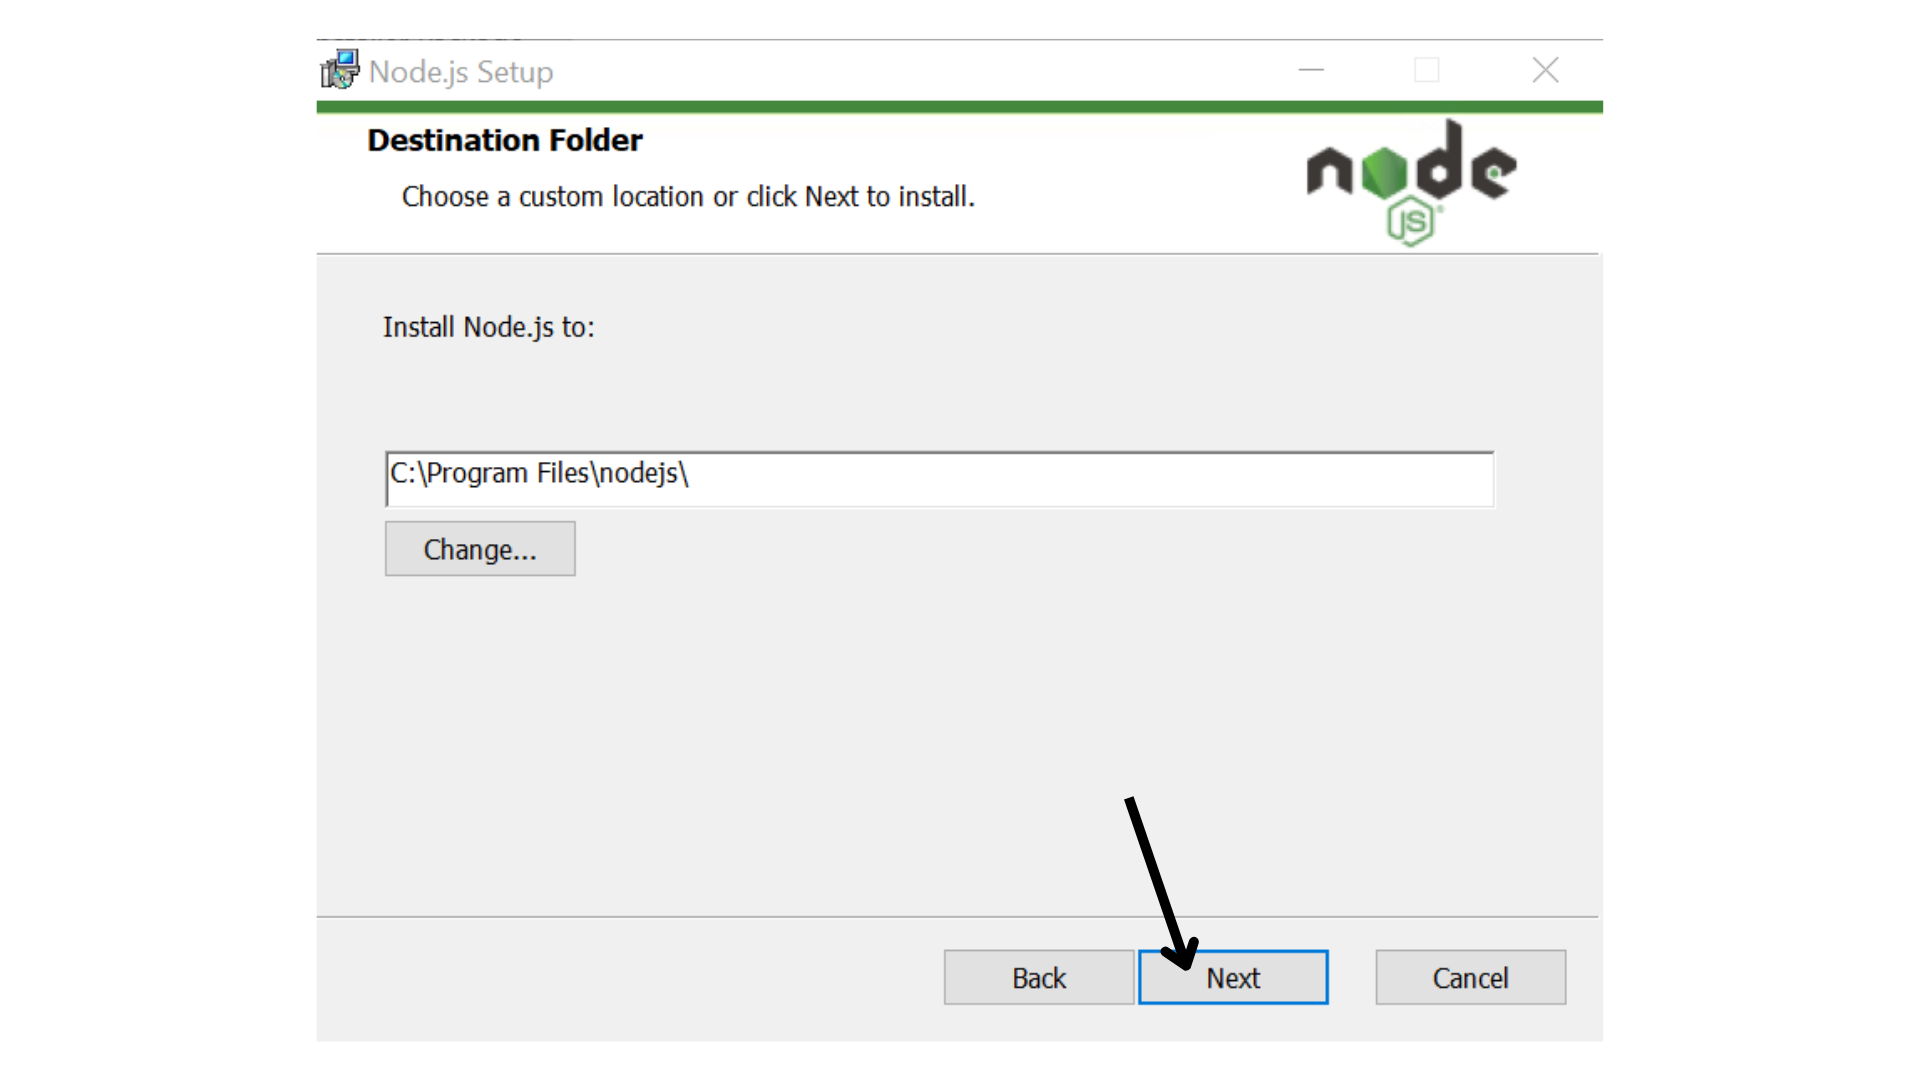
- Choose Destination Folder : Select the folder where you want to install Node.js. The default location is usually fine. Click
Next.
Ready to Install : Review your installation choices. Click "Install" to begin the installation process.

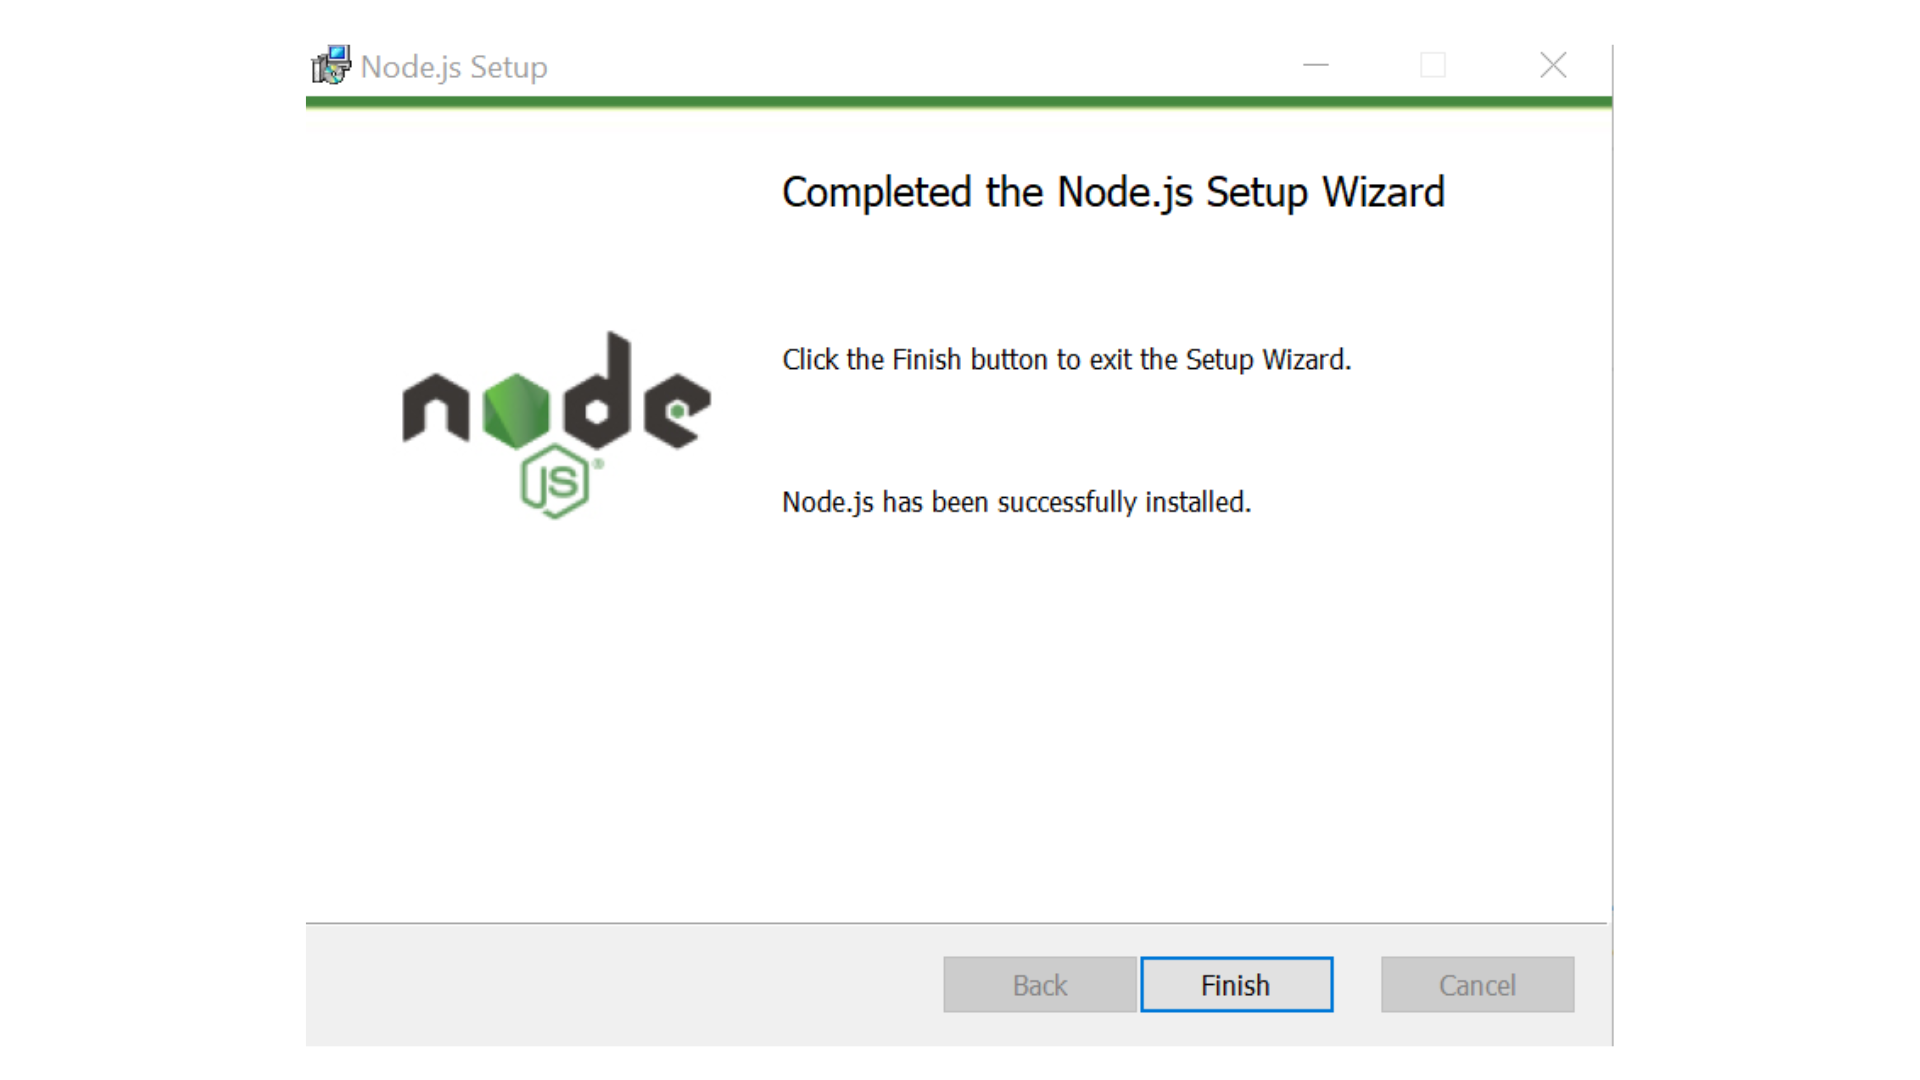
Completing the Node.js Setup Wizard : Once the installation is complete, click
Finishto close the installer.
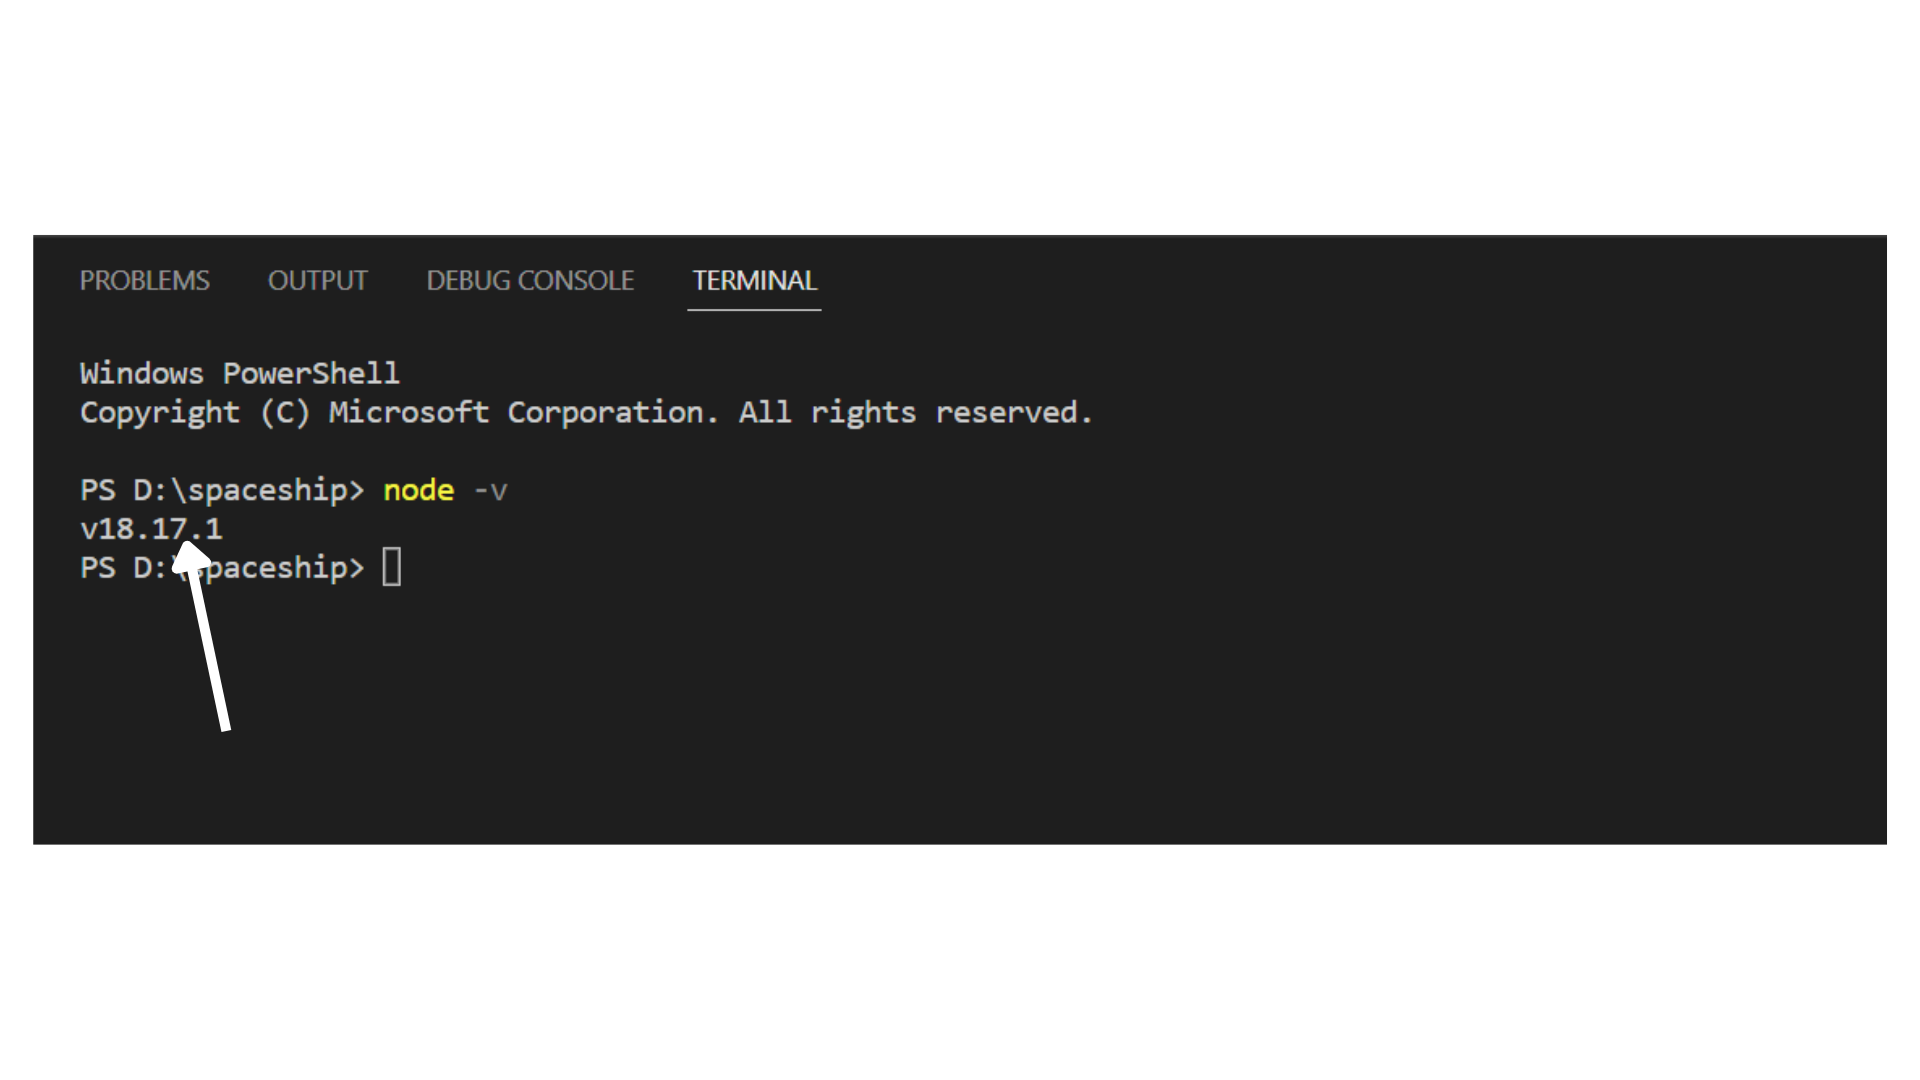
- Verify Installation : To verify that Node.js and npm (Node Package Manager) were installed correctly, open the Command Prompt or VS code terminal and run the following commands:
node - v;