Introduction To MongoDB
Introduction To MongoDB
MongoDB is a popular NoSQL database system that provides high scalability, flexibility, and performance for managing large amounts of unstructured and semi-structured data.
There are two types of database:
- NoSQL
- SQL
MongoDB belongs to the NoSQL category, which means that it utilizes a non-relational data model for storing and managing data, So we Will use MongoDB database.
MongoDB Data Structure
MongoDB organizes data in a flexible and scalable manner. Here are the key components:
Key-Value: MongoDB stores data in documents, which are JSON-like objects consisting of key-value pairs. Each value can be of different types, such as strings, numbers, arrays, or even nested documents.Document: A document in MongoDB is a set of key-value pairs. It is equivalent to a record or row in a relational database.Collection: A collection is a group of related documents. It is analogous to a table in a relational database. Collections do not enforce a strict schema, allowing for flexibility in the structure of the stored documents.
Installing MongoDB
To create a MongoDB Atlas account and set up your database, follow these steps:
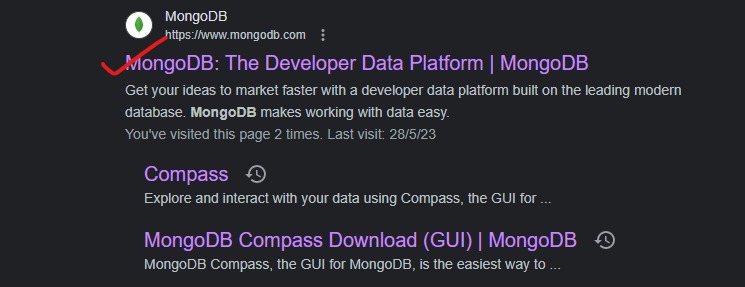
- Visit the MongoDB website at https://www.mongodb.com/.
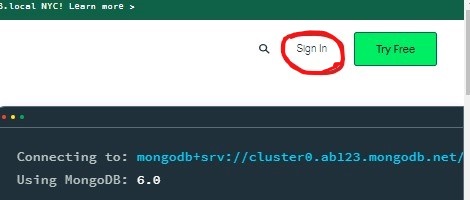
- Click on the
Sign Inbutton.
- Choose the option to sign in with Google.

Select your Google email account to proceed.
Read and accept the Privacy Policy and Terms of Service by checking the checkbox.
Click on the
Submitbutton.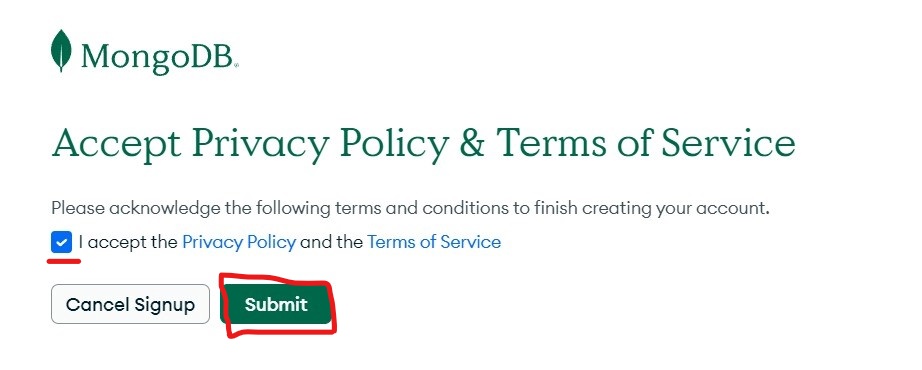
You will be redirected to the MongoDB Atlas dashboard, where you will be greeted with a welcome message.
Answer the following questions:
For the goal today, select
Learn MongoDB.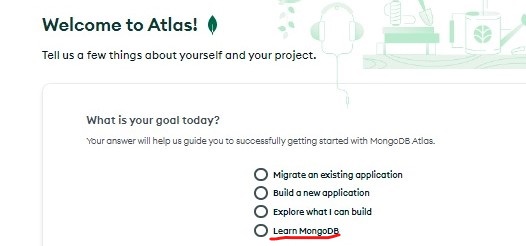
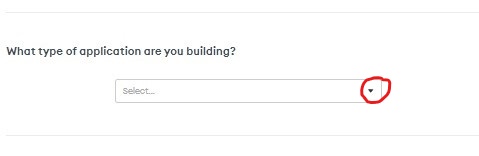
For the type of application you are building, choose
I'm just exploring.
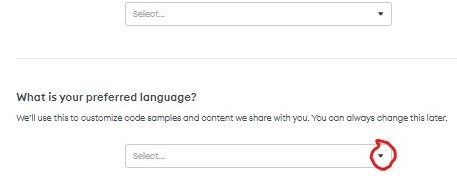
- For the preferred language, select
JavaScriptfrom the dropdown.
- Click on the
Finishbutton to proceed.

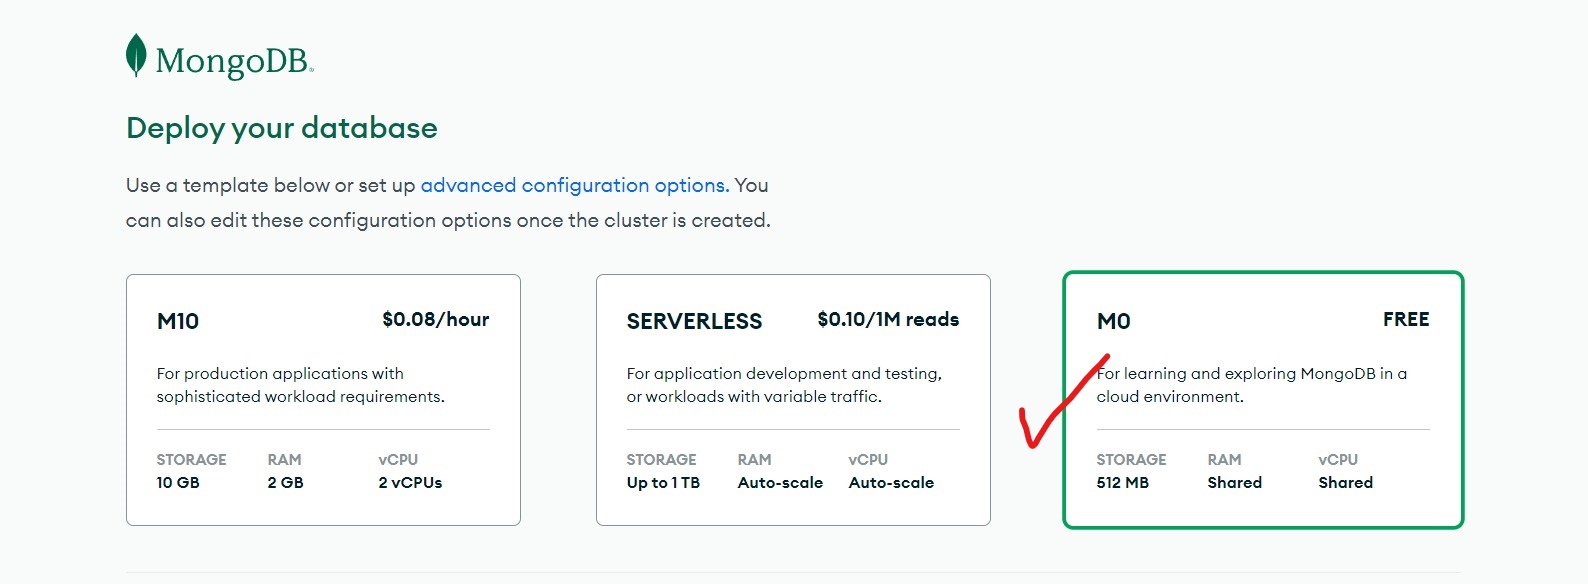
- On the next page, you will be prompted to deploy your database. Choose the
Freeoption.
- Select your preferred cloud provider (e.g., AWS).
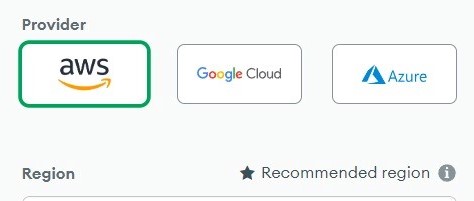
- Choose the region where you want to deploy your database (e.g., Mumbai).

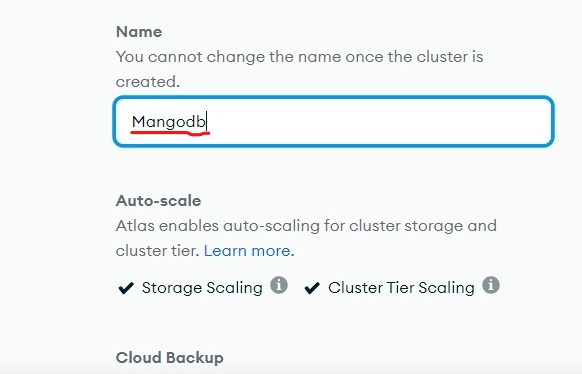
- Enter a cluster name, such as
MongoDB.
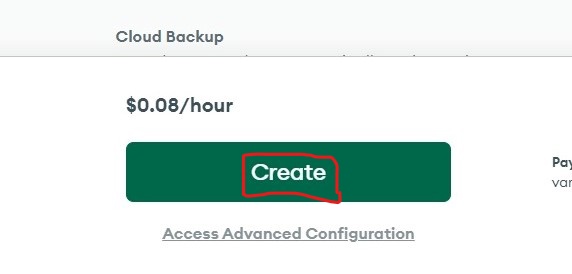
- Click on the
Createbutton to create your MongoDB Atlas cluster.
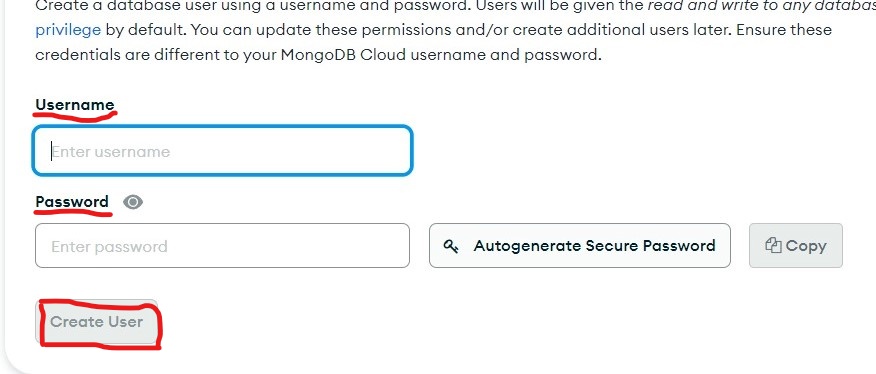
- Set your desired
usernameandpasswordfor accessing the database.
Complete the remaining steps as instructed by the MongoDB Atlas setup wizard.
Once the setup is complete, you will have successfully installed MongoDB Atlas and created your database.
BSON (Binary JSON)
BSON stands for Binary JSON, and it is a binary representation of JSON-like documents. BSON is designed to be a more efficient and compact format for storing and transmitting data compared to plain text JSON. It extends the JSON model by adding additional data types and features.
BSON is used as the storage format for data in MongoDB. When data is inserted into a MongoDB database, it is converted into BSON format before being stored. Similarly, when data is retrieved from MongoDB, it is converted back from BSON to JSON.
Key-value pair
{
  name: "Yogita",
  age: 21,
  city: "Ahemdnagar"
}
In the above Example,the document has three fields name, age, city. Each field has corresponding value.
Documents
{
  {
    name: "Yogita",
    age: 21
  },
  {
    name: "Harshada",
    age: 22
  }
}
In this example, we have a documents with two embedded documents. Each document represent a person with their respective name and age field.
These examples showcase the basic structure of BSON documents and how key-value pairs are used to represent data in MongoDB. BSON's flexibility and efficient encoding make it suitable for storing and retrieving data in MongoDB, providing a powerful and scalable solution for managing unstructured and semi-structured data.
Exploring MongoDB Compass
There are two mongodb tools:
MongoDB Atlas: It is a website where we can create account and create database.MongoDB Compass: We can access data locally can't visit anytime website. Mangodb compass mainly used for data access.
Steps to install MongoDB Compass
To install MongoDB Compass, you can follow these steps:
Search for
MongoDB Compassin your preferred search engine.
Open the downloads page for MongoDB Compass.
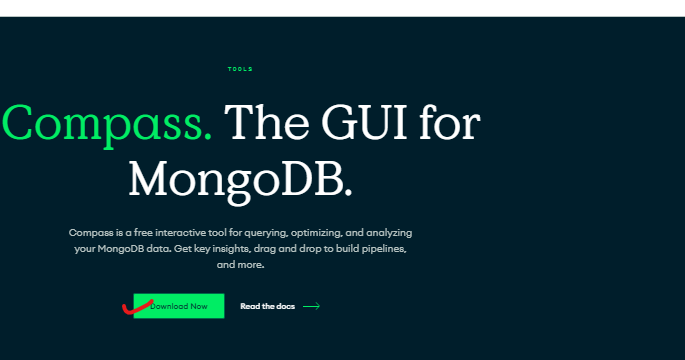
On the downloads page, you'll find options to download the MongoDB Compass installer. Choose the installer that is suitable for your operating system (e.g., .exe for Windows).
Download the latest version of MongoDB Compass by clicking on the appropriate download link.
Once the download is complete, locate the downloaded installer file and launch it.
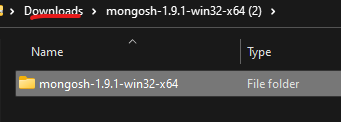
Follow the on-screen instructions to install MongoDB Compass on your system. The installation process may vary depending on your operating system.
After the installation is complete, you can launch MongoDB Compass from your applications or programs menu.
MongoDB Compass provides a GUI (Graphical User Interface) for accessing MongoDB databases. Once you have MongoDB Compass installed and running, you can connect to your databases and perform various operations like creating databases, inserting documents, deleting databases, and more.
- Here are some common operations you can perform in mongodb compass.
Database
Mongosh: Mongosh is a mangodb shell.(it is terminal of mongodb). we can run the mongodb commands.
There are three database:
- Admin : It manages mongodb database.
- Local : Configuration, we can't modifies these database.
- mydb : It is userdefined database. we can access these database.
Create Database :
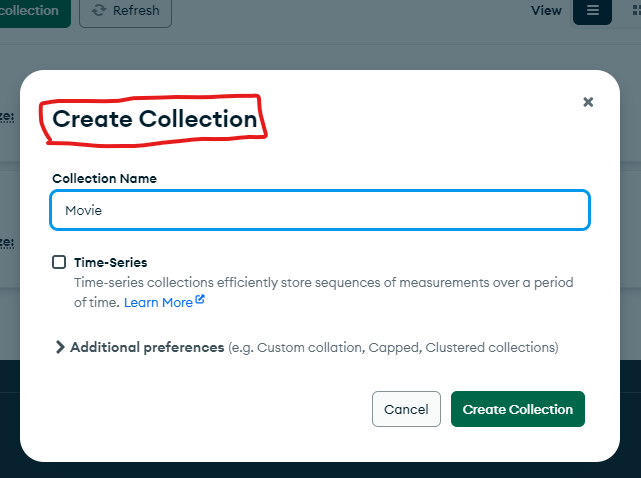
In MongoDB Compass, you can create a new database by right-clicking on the Databases tab and selecting Create Collection. Provide a name for the database, and it will be created.
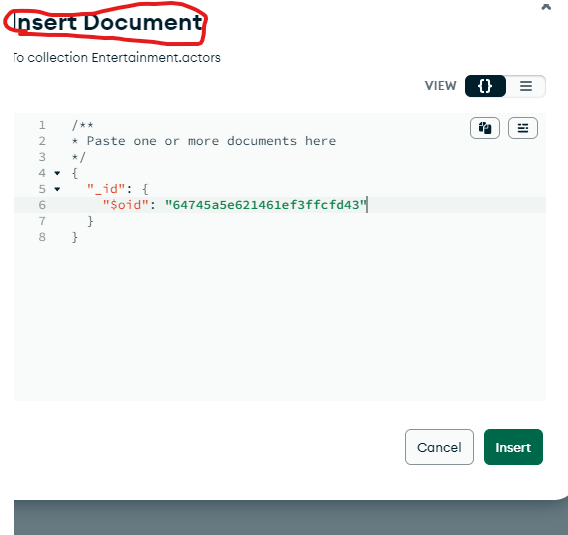
Insert Document :
To insert documents into a collection within a database, select the database, navigate to the desired collection, and click on the Insert Document button. Enter the document data and save it.
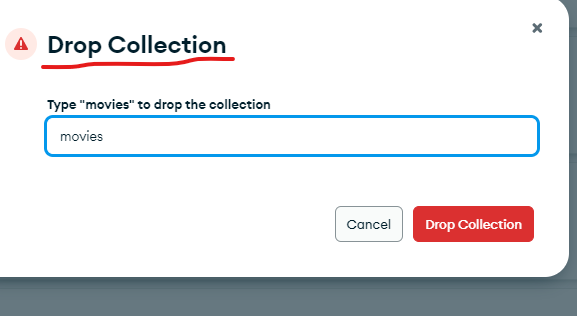
Delete Database :
If you want to delete a database, right-click on the database name in the left-hand sidebar and select Drop Database. Confirm the deletion when prompted.
Show Database :
Show Databases: To view all the databases on the connected MongoDB server, you can click on the Databases tab in the left-hand sidebar. It will display a list of available databases.
show dbs
Use Database :
In MongoDB Compass, you don't need to explicitly run the use command to switch to a database. By selecting a database from the sidebar, you are already using that database. MongoDB Compass provides a graphical interface to interact with the selected database and its collections.
usemydb;
MongoDB CRUD Operation
CRUD stands for Create, Read, Update, and Delete. These are the basic operations used to manipulate data in a database.
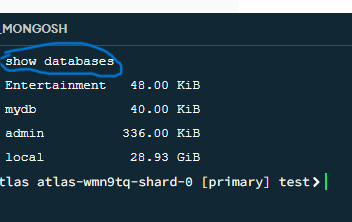
Show Database
To display all databases in MongoDB, you can use the show dbs command. This command will return a list of all databases present.
show dbs
   mydb    72.00 KiB
   admin   336.00 KiB
   local   8.27 GiB
In the above example, there are three databases: mydb, admin, and local.
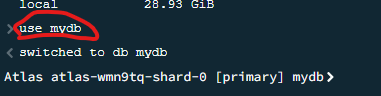
Use database
To switch to a specific database, you can use the use command followed by the database name. This command sets the current database context to the specified database.
use mydb
switched to db mydb
In the above example, we switched to the mydb database.
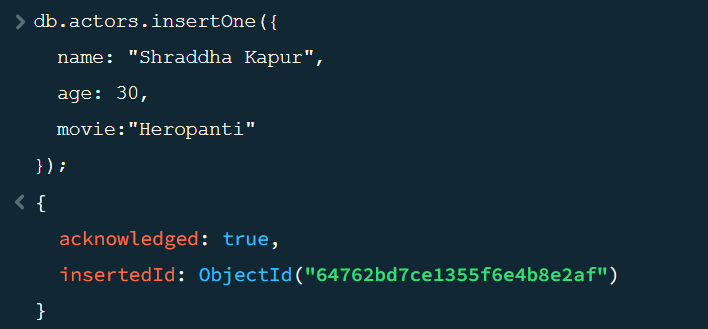
Create / Insert
To create or insert a new document into a collection, you can use the insertOne() or insertMany() methods.
insertOne()method inserts a single document into a collection.
Syntax :
db.collection -
  name.insertOne({
    field1: value1,
    field2: value2,
    // ...
  });
Example :
db.actors.insertOne({
  name: "Shraddha Kapur",
  age: 30,
  movie: "Heropanti",
});
This will return the following output:
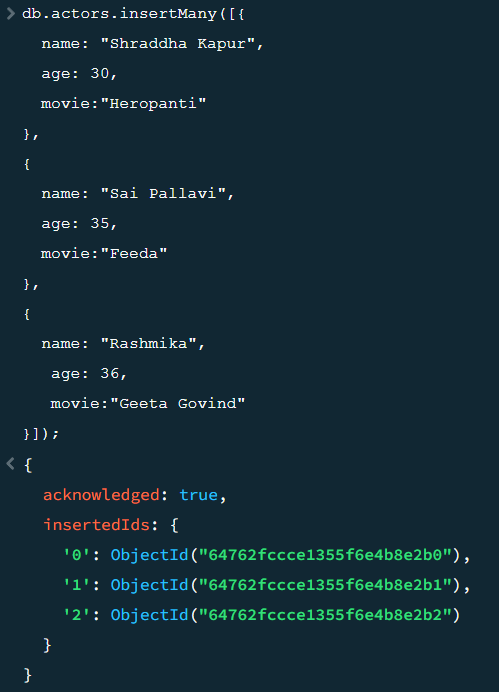
insertMany()method inserts multiple documents into a collection.
Syntax :
db.collection.insertMany([
  {
    field1: value1,
    field2: value2,
    // ...
  },
  {
    field1: value3,
    field2: value4,
    // ...
  },
]);
Example :
db.actors.insertMany([
  {
    name: "Shraddha Kapur",
    age: 30,
    movie: "Heropanti",
  },
  {
    name: "Sai Pallavi",
    age: 35,
    movie: "Feeda",
  },
  {
    name: "Rashmika",
    age: 36,
    movie: "Geeta Govind",
  },
]);
This will return the following output:
Read
To read or retrieve data from a collection, you can use the find() and findOne() methods.
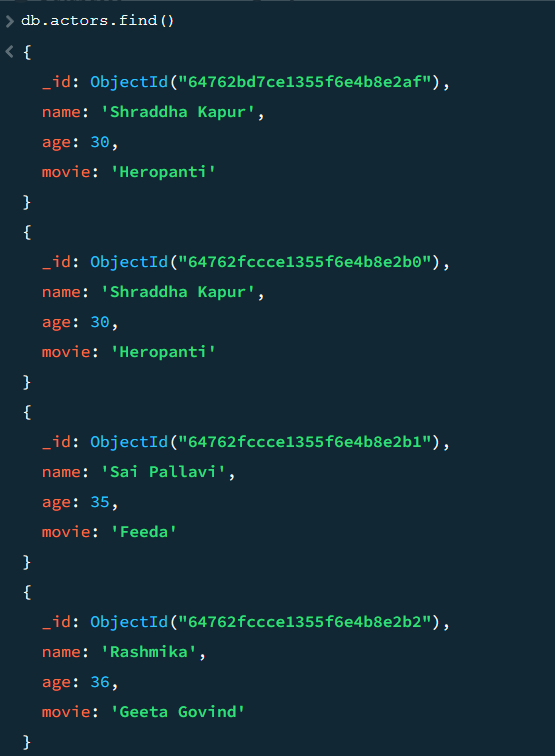
find()method returns all documents in a collection.
Syntax :
db.collection.find();
Example :
db.actors.find();
This will return the following output:
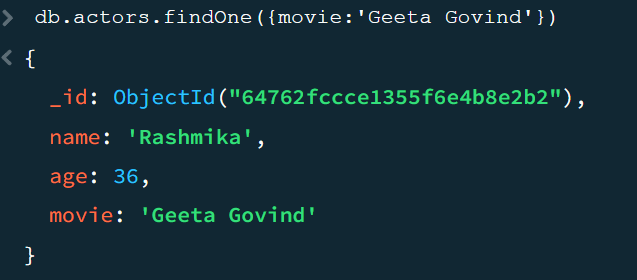
findOne()method returns the first document that matches the given condition.
Syntax :
db.collection.findOne({ field: value });
Example :
db.actors.findOne({ movie: "Geeta Govind" });
This will return the following output:
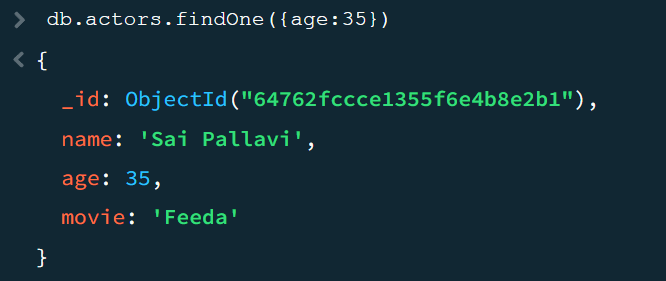
Example :
db.actors.findOne({ age: 36 });
This will return the following output:
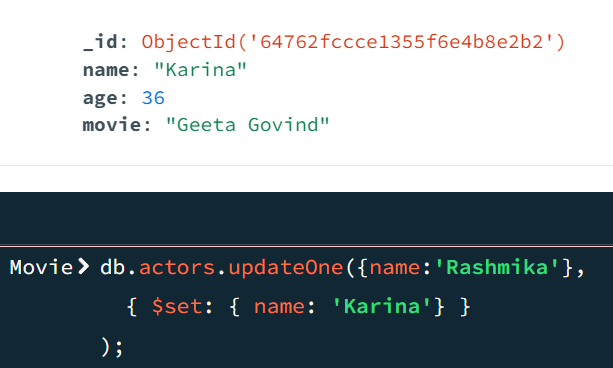
Update
updateOne()To update existing documents in a collection, you can use the updateOne() or updateMany() methods.Syntax :
db.collection.updateOne({ field: value }, { $set: { newField: newValue } });
Example :
db.actors.updateOne({ name: "Rashmika" }, { $set: { name: Karina } });
This will return the following output:
updateMany()method updates multiple documents in a collection based on the given condition.Syntax :
db.collection.updateMany({ field: value }, { $set: { newField: newValue } });
Example :
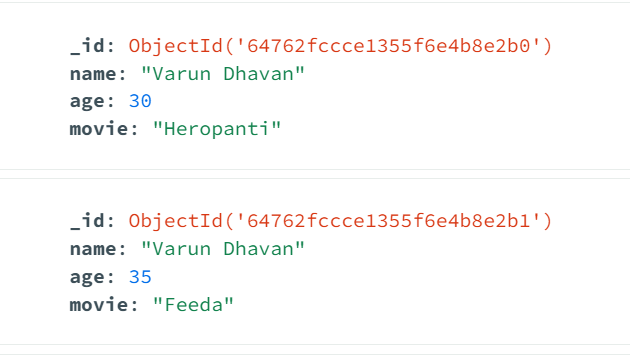
db.actors.updateMany({}, { $set: { name: "Varun Dhavan" } });
This will return the following output:
Delete
To delete documents from a collection, you can use the deleteOne() or deleteMany() methods.
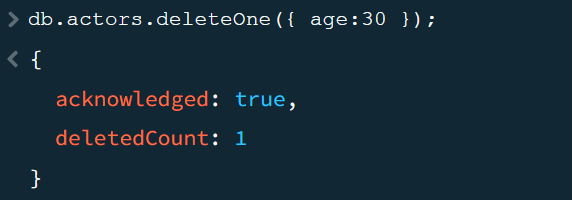
deleteOne()method deletes a single document from a collection based on the given condition.
Syntax :
db.collection.deleteOne({ field: value });
Example :
db.actors.deleteOne({ age: 30 });
This will return the following output:
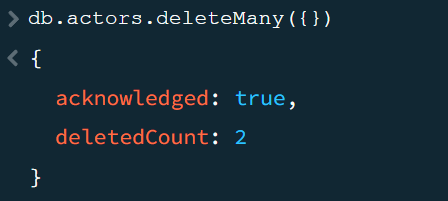
deleteMany()method deletes multiple documents from a collection based on the given condition.
Syntax :
db.collection.deleteMany({ field: value });
Example :
db.actors.deleteMany({});
This will return the following output:
Common mistakes
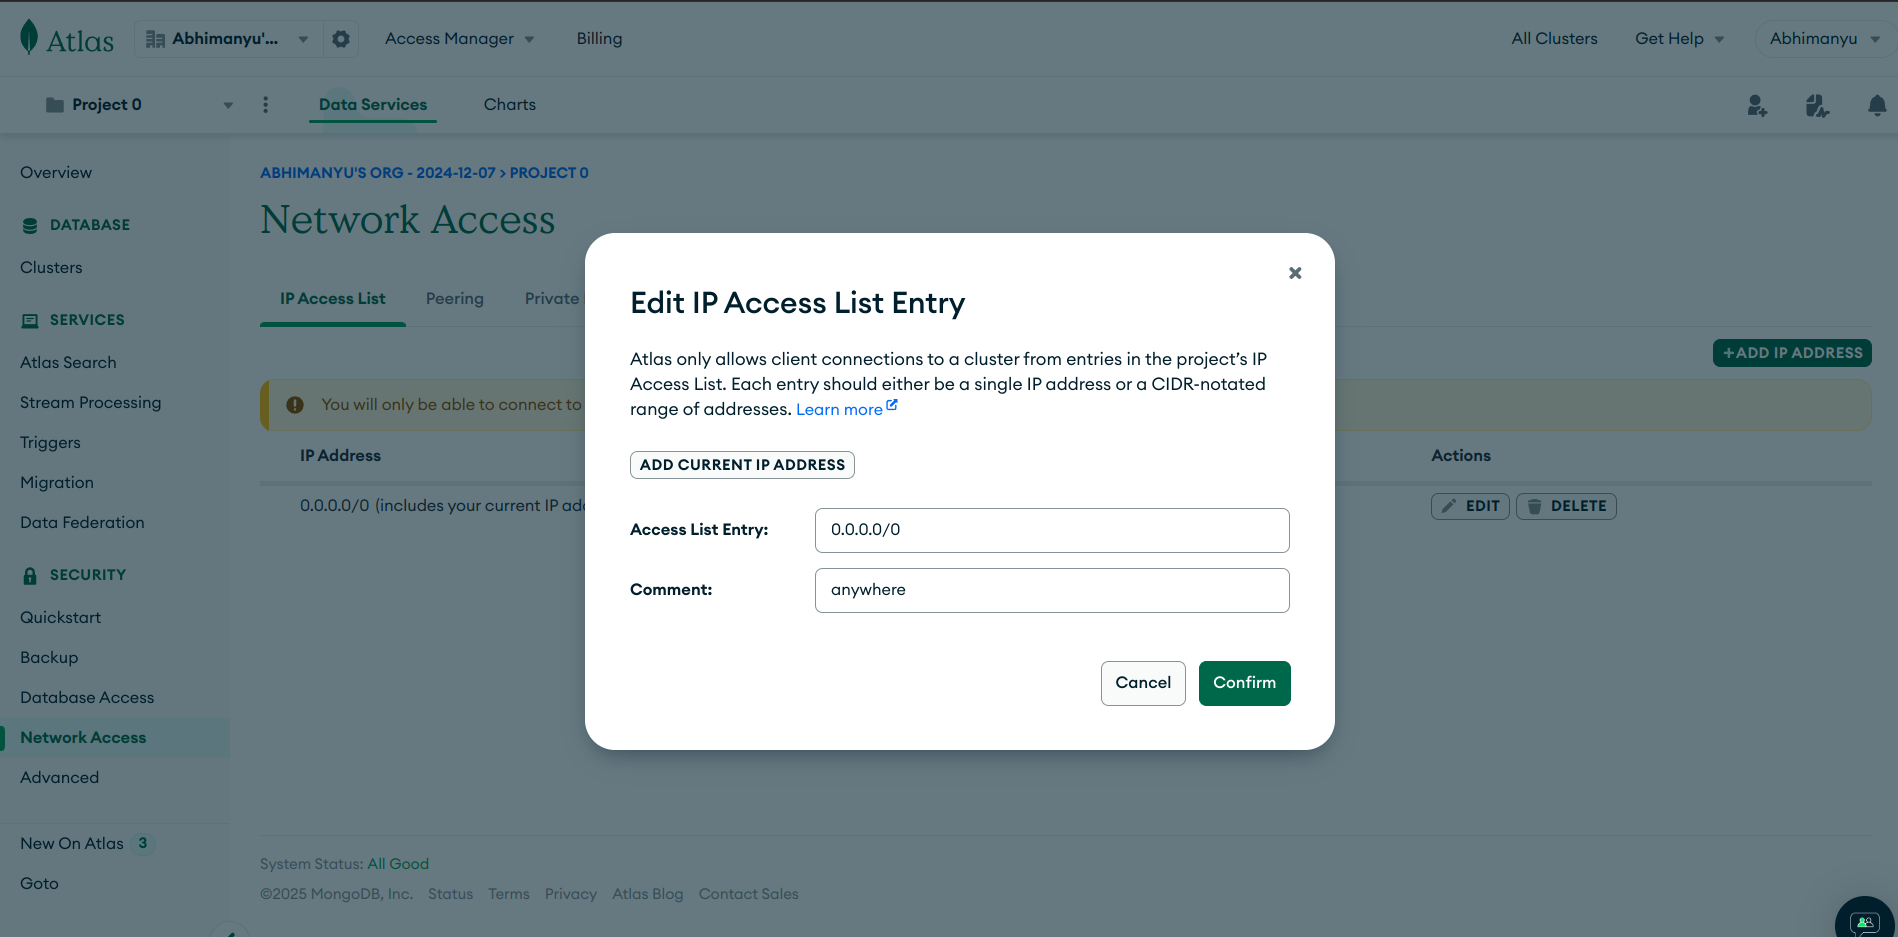
setup your atlas network access
Edit IP Access List Entry
Access List Entry: 0.0.0.0
to access from anywhere from any network
comment: anywhere