Forms
Forms in HTML are used to collect input from users. They can include various elements such as text fields, checkboxes, radio buttons, dropdown menus, buttons, and more. In this guide, we'll explore the different form elements and their usage.
Form Structure
A form is created using the <form> element. It serves as a container for form controls and defines the boundaries of the form.
<form>
  <!-- Form controls go here -->
</form>
<form> is opening tag.
</form> is closing tag.
Forms Contain
<input>
<select>
<checkbox>
<radio>
<button>
<option>
<label>
Input Tag
The <input> tag is used to create different types of input fields where users can enter data.
Text Input
The type="text" attribute creates a text input field where users can enter single-line text.
<input type="text" />
How to take input from user
Code :
<!DOCTYPE html>
<html>
  <head>
    <title>Form</title>
  </head>
  <body>
    <form>
      <input type="text" />
    </form>
  </body>
</html>
Output :
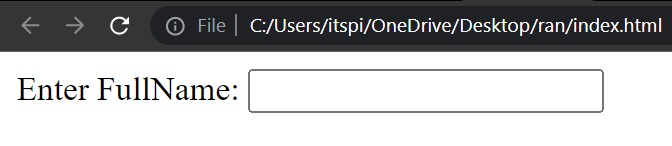
Label
The label is a normal text, its show information about your input element & its visually and pragmatically associated with the input element.
The
<label>tag is used to specify a label for an<input>element.
Code :
<!DOCTYPE html>
<html>
  <head>
    <title>Forms</title>
  </head>
  <body>
    <form>
      <label for="inputFullName">Enter FullName: </label>
      <input type="text" id="inputFullName" />
    </form>
  </body>
</html>
Output :
Password
The type="password" attribute creates a password input field where entered characters are masked for security.
Code :
<!DOCTYPE html>
<html>
  <head>
    <title>Forms</title>
  </head>
  <body>
    <form>
      <label for="inputPassword">Enter Password:</label>
      <input type="password" id="inputPassword" />
    </form>
  </body>
</html>
Output :

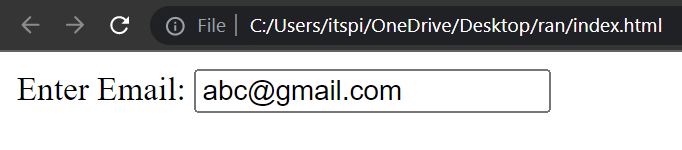
Email
- The email Attribute is used to validates the text for correct email address. You must use
@and.in this field.
Code :
<!DOCTYPE html>
<html>
  <head>
    <title>Forms</title>
  </head>
  <body>
    <form>
      <label for="inputEmail">Enter Email:</label>
      <input type="email" id="inputEmail" />
    </form>
  </body>
</html>
Output :
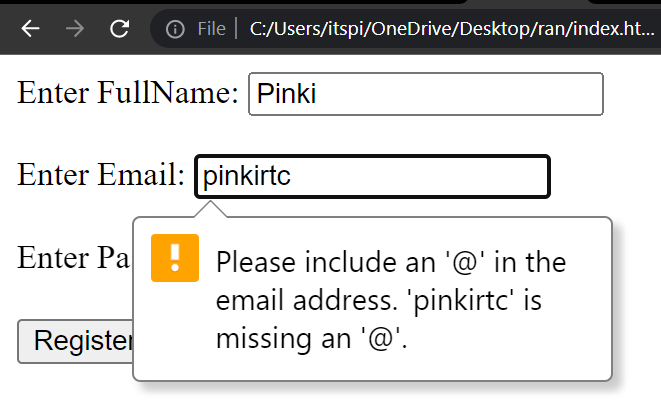
If we do not enter the proper email address then it will display error like this
Code :
<!DOCTYPE html>
<html>
  <head>
    <title>Forms</title>
  </head>
  <body>
    <form>
      <label for="inputFullName">Enter FullName: </label>
      <input type="text" id="inputFullName" required />

      <br /><br />

      <label for="inputEmail">Enter Email:</label>
      <input type="email" id="inputEmail" required />

      <br /><br />

      <label for="inputPassword">Enter Password:</label>
      <input type="password" id="inputPassword" required />

      <br /><br />

      <input type="submit" value="Register Now" />
    </form>
  </body>
</html>
Output :
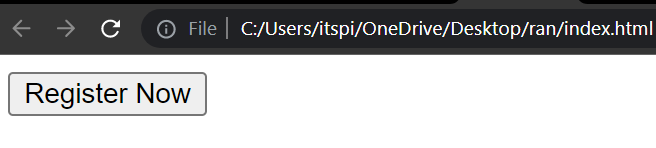
Button
- There are two type of button
- Submit button :- It is used to submit form data.
- Button :- It is used to trigger action.
Code :
<!DOCTYPE html>
<html>
  <head>
    <title>Forms</title>
  </head>
  <body>
    <form>
      <input type="submit" value="Register Now" />
    </form>
  </body>
</html>
Output :
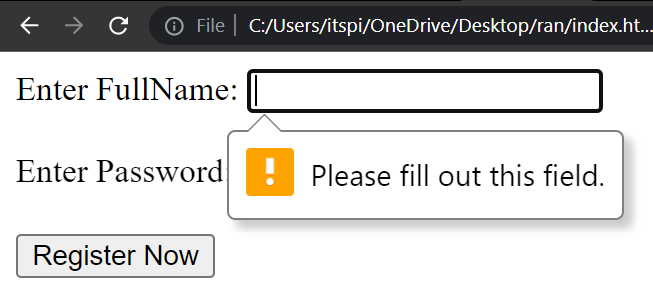
required
- The
requiredattribute indicates that an input field must be filled out before submitting the form.
Code :
<!DOCTYPE html>
<html>
  <head>
    <title>Forms</title>
  </head>
  <body>
    <form>
      <label for="inputFullName">Enter FullName: </label>
      <input type="text" id="inputFullName" required />

      <br /><br />

      <label for="inputPassword">Enter Password:</label>
      <input type="password" id="inputPassword" required />

      <br /><br />

      <input type="submit" value="Register Now" />
    </form>
  </body>
</html>
Output :
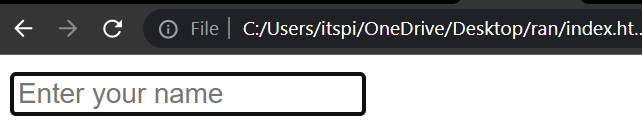
Placeholder
- Placeholder is a attribute which is used to set a short hint that describes the value of an input field.
Code :
<!DOCTYPE html>
<html>
  <head>
    <title>Forms</title>
  </head>
  <body>
    <form>
      <input type="text" placeholder="Enter your name" />
    </form>
  </body>
</html>
Output :
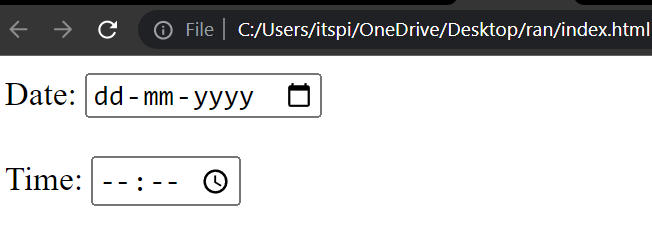
Date and Time
Code :
<!DOCTYPE html>
<html>
  <head>
    <title>Forms</title>
  </head>
  <body>
    <form>
      Date: <input type="date" />

      <br /><br />

      Time: <input type="time" />
    </form>
  </body>
</html>
Output :
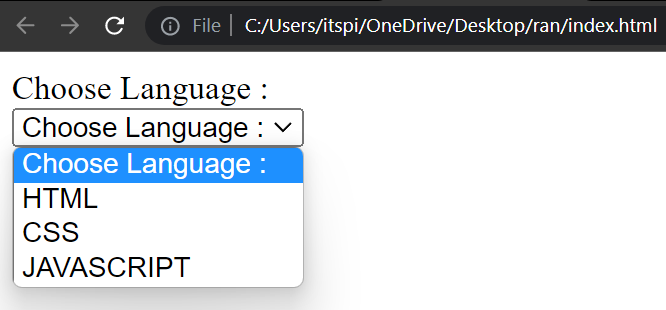
Dropdown
- We can create drop-down list using
<select>tag.<select>Tag are contain Multiple<option>tag.<option>Tag are used to display available options in drop-down.
Syntax :
<select>
  <option></option>
  <option></option>
  <option></option>
</select>
Code :
<!DOCTYPE html>
<html>
  <head>
    <title>Select</title>
  </head>
  <body>
    <form>
      <label for="selectLanguage">Choose Language :</label> <br />
      <select id="selectLanguage">
        <option>Choose Language :</option>
        <option>HTML</option>
        <option>CSS</option>
        <option>JAVASCRIPT</option>
      </select>
    </form>
  </body>
</html>
Output :
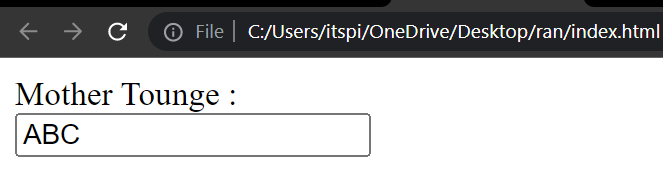
Value
- The value attribute are used specifies the value of an
<input>element. Value attribute represent the default value for the input element.
Code :
<!DOCTYPE html>
<html>
  <head>
    <title>Form</title>
  </head>
  <body>
    <form>
      <label for="motherThoung">Mother Tounge :</label> <br />
      <input type="text" id="motherThoung" value="ABC" />
    </form>
  </body>
</html>
Output :
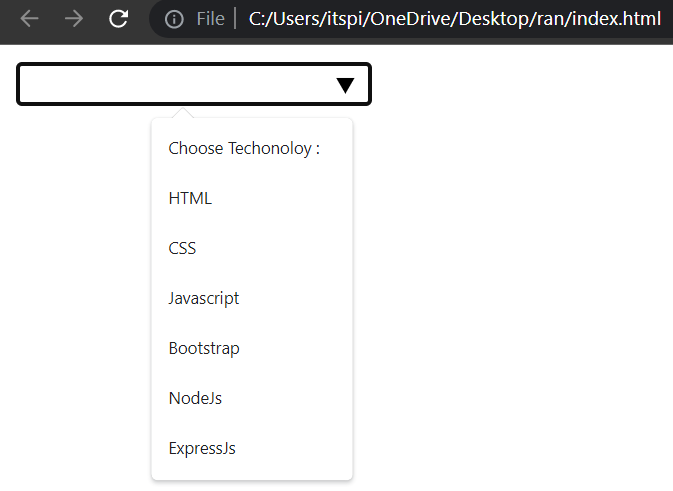
Data List
Data list it is a Searchable list option. It can help the user, the user does not need to type the whole text data list have predefined suggestions so it can suggest to the user.
Code :
<!DOCTYPE html>
<html>
  <head>
    <title>Datalist</title>
  </head>
  <body>
    <form>
      <input list="techOptions" />

      <datalist id="techOptions">
        <option>Choose Techonoloy :</option>
        <option>HTML</option>
        <option>CSS</option>
        <option>Javascript</option>
        <option>Bootstrap</option>
        <option>NodeJs</option>
        <option>ExpressJs</option>
      </datalist>
    </form>
  </body>
</html>
Output :
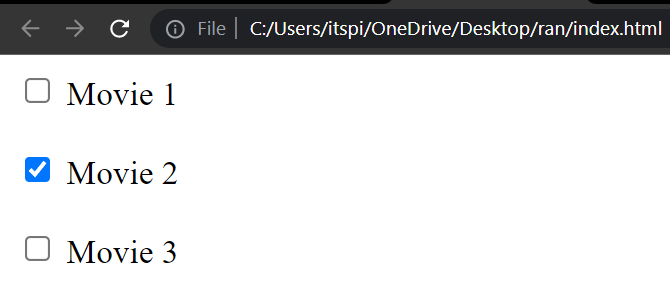
Checkbox
- Checkbox is used to multiple selection. Checkbox is always in square.
Code :
<!DOCTYPE html>
<html>
  <head>
    <title>Checkbox</title>
  </head>
  <body>
    <form>
      <input type="checkbox" id="movie1" />
      <label for="movie1">Movie 1</label> <br /><br />

      <input type="checkbox" id="movie2" />
      <label for="movie2">Movie 2</label> <br />
      <br />

      <input type="checkbox" id="movie3" />
      <label for="movie3">Movie 3</label> <br /><br />
    </form>
  </body>
</html>
Output :
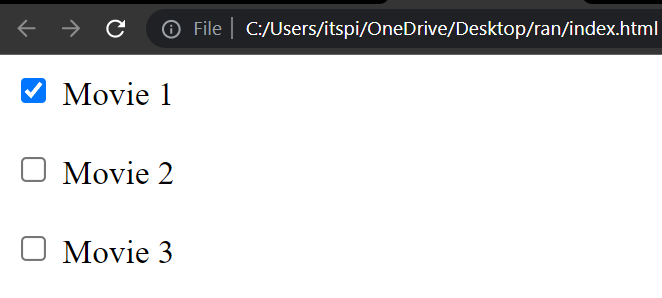
Checkbox have one Checked = true attribute & this attribute specifies input element should be pre-selected or checked.
Code :
<!DOCTYPE html>
<html>
  <head>
    <title>Checkbox</title>
  </head>
  <body>
    <form>
      <input type="checkbox" id="movie1" checked="true" />
      <label for="movie1">Movie 1</label> <br /><br />

      <input type="checkbox" id="movie2" />
      <label for="movie2">Movie 2</label> <br />
      <br />

      <input type="checkbox" id="movie3" />
      <label for="movie3">Movie 3</label> <br /><br />
    </form>
  </body>
</html>
Output :
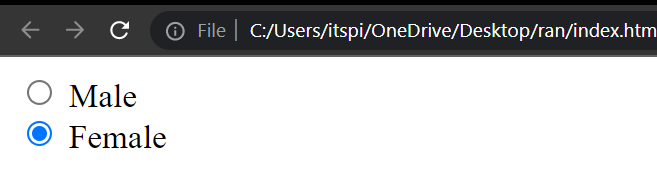
Radio Button
- Radio Button is used to Single selection. Radio button is always circle.
Code :
<!DOCTYPE html>
<html>
  <head>
    <title>Radio Button</title>
  </head>
  <body>
    <form>
      <input type="radio" name="gender" id="male" />
      <label for="male">Male</label><br />

      <input type="radio" name="gender" id="female" />
      <label for="female">Female</label>
    </form>
  </body>
</html>
Output :
File
<input> elements with type="file" it is used to user choose files from their device storage.
Syntax :
<form>
  <input type="file" />
</form>
accept="application/pdf"
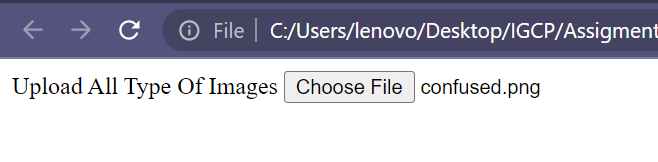
The accept attribute specifies what type of file user can pick from their device storage.
The accept attribute can only be used with file tag.
Different accept attribute value :
image/*= image files
Code :
<!DOCTYPE html>
<html>
  <head>
    <title>File Picker</title>
  </head>
  <body>
    <form>
      <label for="fileInput"> Upload All Type Of Images</label>
      <input type="file" id="fileInput" accept="image/*" />
    </form>
  </body>
</html>
Output :
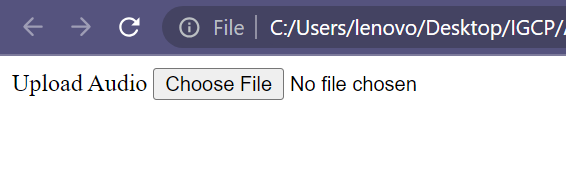
audio/*= audio files
Code :
<!DOCTYPE html>
<html>
  <head>
    <title>File Picker</title>
  </head>
  <body>
    <form>
      <label for="fileInput"> Upload Audio</label>
      <input type="file" id="fileInput" accept="audio/*" />
    </form>
  </body>
</html>
Output :
application/pdf= pdf file
Code :
<!DOCTYPE html>
<html>
  <head>
    <title>File Picker</title>
  </head>
  <body>
    <form>
      <label for="fileInput"> Upload Your Marksheet :</label>
      <input type="file" id="fileInput" accept="application/pdf" />
    </form>
  </body>
</html>
Output :

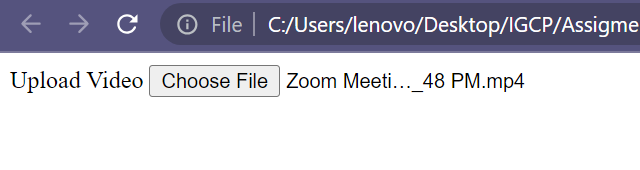
video/*= video files
Code :
<!DOCTYPE html>
<html>
  <head>
    <title>File Picker</title>
  </head>
  <body>
    <form>
      <label for="fileInput"> Upload Video </label>
      <input type="file" id="fileInput" accept="video/*" />
    </form>
  </body>
</html>
Output :
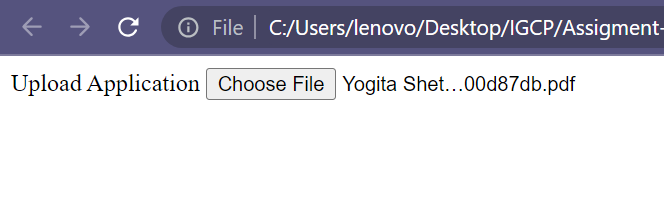
application/*= all type application
<!DOCTYPE html>
<html>
  <head>
    <title>File Picker</title>
  </head>
  <body>
    <form>
      <label for="fileInput"> Upload Application </label>
      <input type="file" id="fileInput" accept="application/*" />
    </form>
  </body>
</html>
Output :
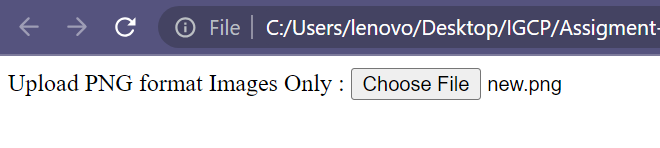
image/png= only png extension images
Code :
<!DOCTYPE html>
<html>
  <head>
    <title>File Picker</title>
  </head>
  <body>
    <form>
      <label for="fileInput"> Upload PNG format Images Only</label>
      <input type="file" id="fileInput" accept="image/png" />
    </form>
  </body>
</html>
Output :
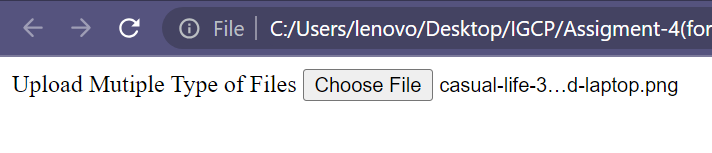
- We can also Upload multiple Type of Files.
Code :
<!DOCTYPE html>
<html>
  <head>
    <title>File Picker</title>
  </head>
  <body>
    <form>
      <label for="fileInput"> Upload All Type Of Images</label>
      <input type="file" id="fileInput" accept="video/*,image/png" />
    </form>
  </body>
</html>
Output :